
Everything you need to know about hiking the 3-day Grampians Peaks Trail
Last Updated on 22 April 2026
Located just 3 hours northwest of Melbourne CBD, Grampians National Park has long-since been one of my favourite places to explore, its dramatic rock features, sparkling waterfalls, and sweeping views over a patchwork of green valleys and blue lakes quite unlike anything else in the state. When I heard that VicParks was building a long distance trail through the Grampians, I was obviously ecstatic!
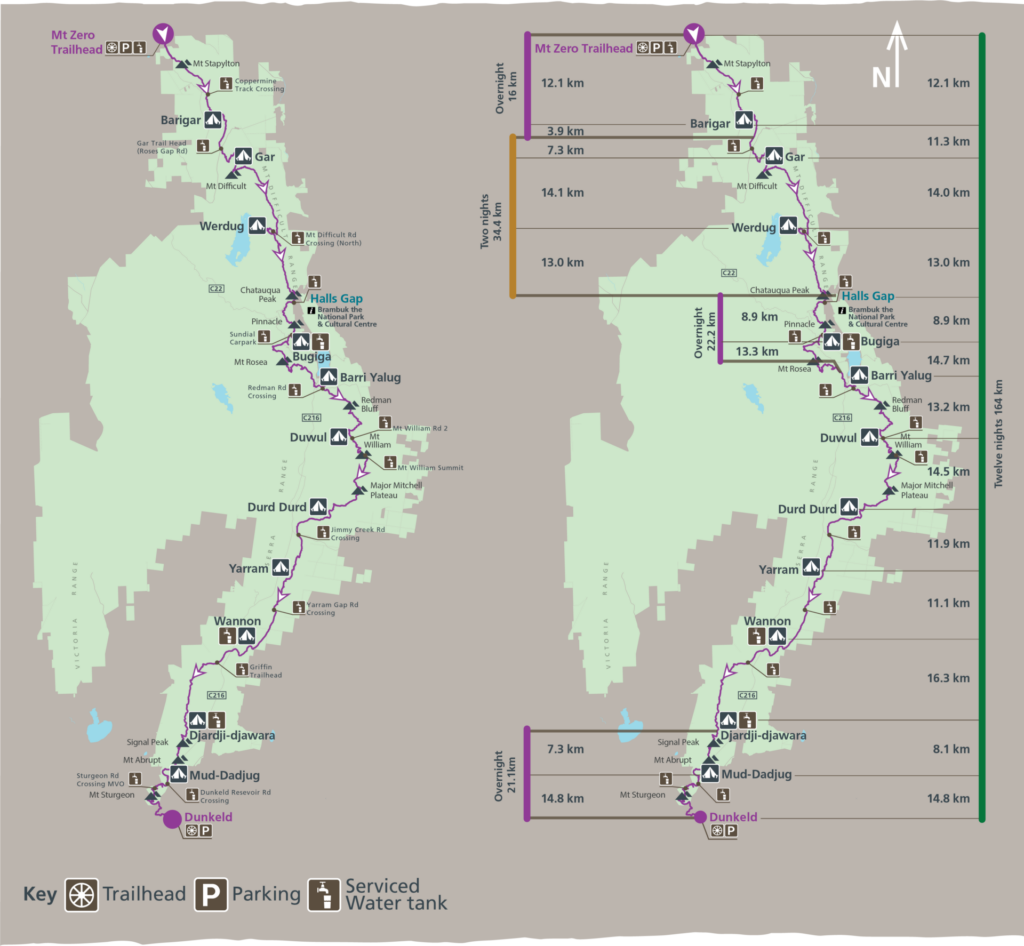
The now-completed Grampians Peaks Trail is a 160km, 13-day route running the entire length of the National Park from Mt Zero in the north to Mt Abrupt in the south, summiting spectacular peaks along the way and showcasing the grandeur of the Wonderland Range.
To sate eager trekkers awaiting completion of the full trail (back in 2020), a small section of the Grampians Peak Trail was officially opened between Halls Gap and Mt Rosea, linking with existing fire trails to form a 37km, 3-day loop beginning and ending in the Grampians’ principle tourism township. This guide contains everything you need to know about hiking this first stage of the Grampians Peaks Trail from Halls Gap, including getting there, reserving campsites, available facilities, what to expect on the trail, a packing list, and heaps more.
Planning for the Grampians Peaks Trail
Update on GPT completion
Since the original writing of this post in March 2020, VicParks finished the building of new hiker campgrounds and facilities, upgraded 60km of exisiting trail, and created 100km of new tracks to officially open the full 164km route from Mt Zero to Mt Abrupt. It’s something we have on our agenda to return and complete, but for now, this post provides details only on the 37km section from Halls Gap and Mt Rosea.
You can find details for the full length of the Grampians Peaks Trail on the official VicParks website.
Best time to hike
The best time to trek the Grampians Peaks Trail is shoulder season: autumn (March – May) or spring (September – November). You’ll typically have the most agreeable temperatures during these months, with autumn being a bit sunnier and spring usually boasting more waterfalls.
It’s not uncommon for temperatures to exceed 40C+ in summer, which also means that fire risk is elevated and total fire bans are often in effect, not to mention the added risk of encountering poisonous snakes during summer (I’ve seen a brown snake in the Grampians as late as the first weekend of March). Water access might also be slightly more challenging towards the end of summer as things start to dry out.
Winter temperatures in the Grampians can dip below freezing at night (they were actually down to 3C in March) and it’s not unheard of for there to be snow flurries, which might not appeal to some trekkers. Still, winter is not a bad time to visit the Grampians. There’s usually plenty of water flowing through the rivers and in the falls, fewer visitors, and lots of lush foliage, which can make for a pretty wonderful visit (if you can get clear weather, which will be the challenge).
Reserving campsites
There are 2 campsites along Stage 1 of the Grampians Peaks Trail, each with drop toilets and running (untreated) water. Both camps need to be reserved in advance online.
I wrote two super detailed guides to help you choose the best backcountry camping setup based on a decade of international, multi-day backpacking experience everywhere from Patagonia to the Peruvian Andes to the Great Ocean Walk on Australia’s southern coast!
>>> How to choose the best backpacking or alpine tent for your next adventure
>>> How to choose the best outdoor sleep system: sleeping bags, sleeping pads & camp pillows
Bugiga Hiker Camp
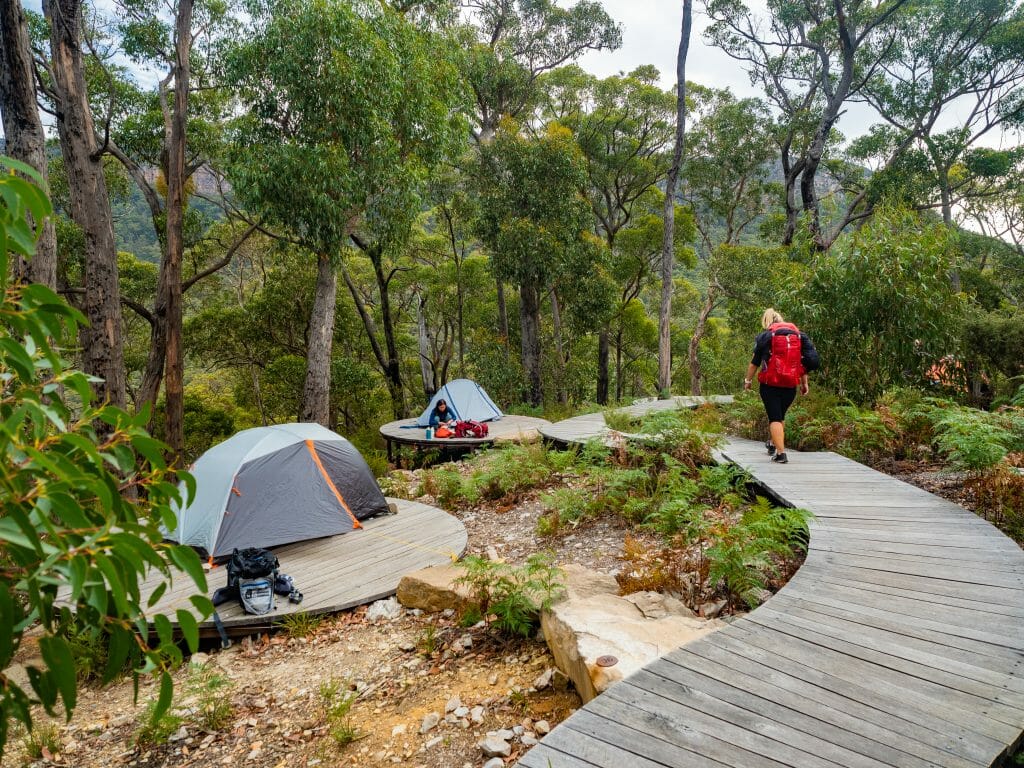
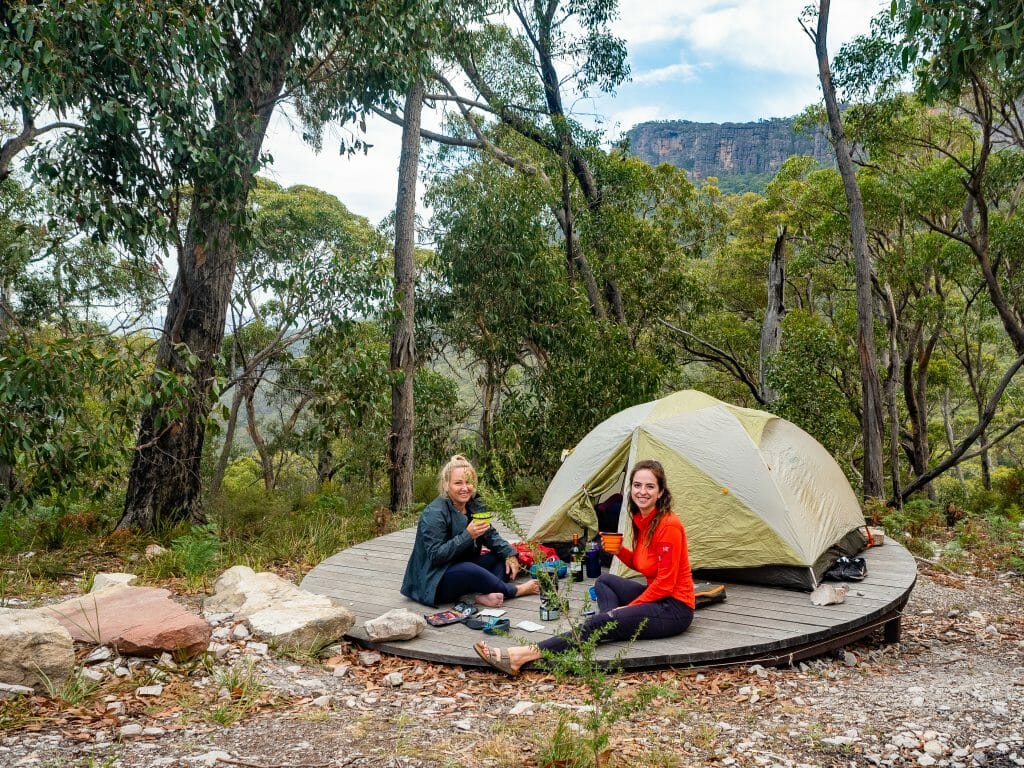
This is a small, trail-access only camp that has been purpose built for night 1 of the 3-day Grampians Peaks Trail, looking out onto Mt Rosea and Mt William at the south end of the Wonderland Range. Camping is on timber platforms raised off the ground, each of which accommodates a 2- or 3-man tent (but max 2 people on each platform).
You can reserve a camping platform at Bugiga Hiker Camp (for 2 people), but with only 12 sites available, make sure to book early during the summer months and school holidays to ensure a spot. I’d specifically recommend Site 08, 09, or 10, as these have the best mountain views.
You’re meant to print the camping permit (from your confirmation email) and display it on your tent, but I just carried a screenshot of the permit on my phone (and was never asked for it anyway).
Borough Huts Campground
On the second night, camping is at Borough Huts Campground, a larger site with vehicle access that is acting as an interim camp for the Grampians Peaks Trail until a dedicated hike-in camp is completed.
There are 30 tent sites, either gravel or grass, that can each accommodate up to 6 people (and I’d recommend choosing a grass site for obvious reasons).

Getting to the Grampians Peaks Trail
Getting to Halls Gap
The best way to get to Halls Gap, the main tourist town for the Grampians, is definitely to drive yourself. Depending on traffic, it will take around 3hrs to drive from Melbourne CBD (250km).
If you aren’t local, you can hire a car from the Melbourne Airport for about $100 for 3 days. We always use DiscoverCars to find the best deals on car rental whenever we travel!
The other option is to catch the V/Line train from Southern Cross to Ararat (2.5hrs) and then the V/Line bus bound for Warrnambool, hopping off at Halls Gap (1hr).

Getting to the trailhead
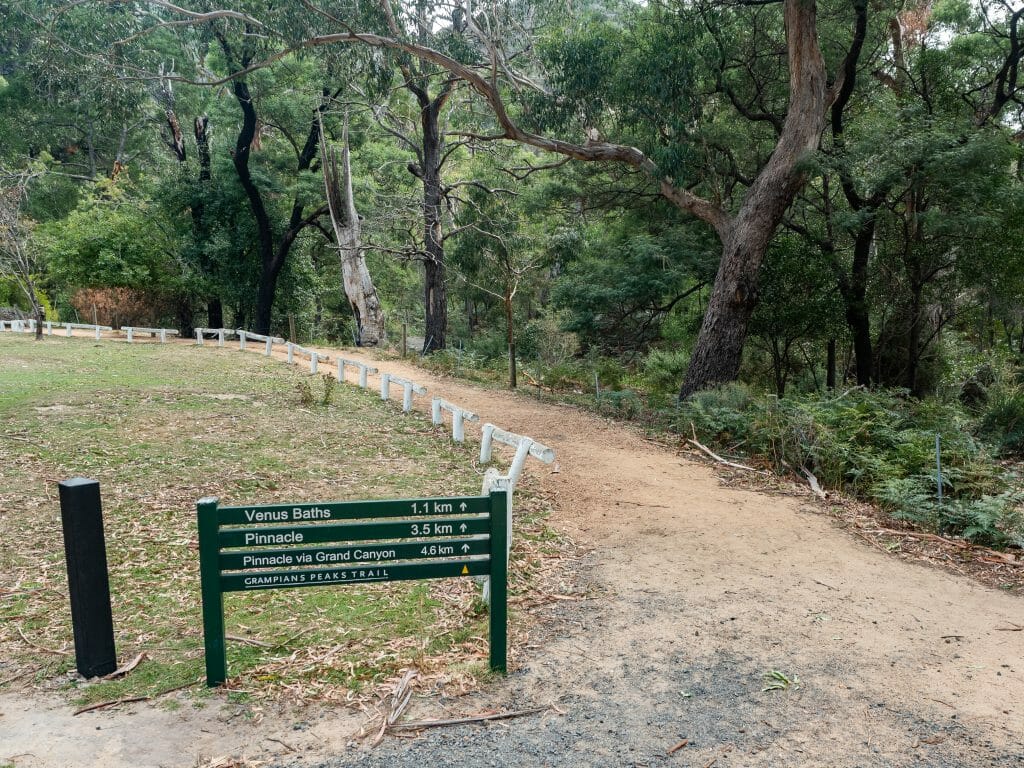
The Grampians Peaks Trail begins right from the main carpark in Halls Gap, across the road from the General Store (you really can’t miss it). It’s totally safe to leave your car here while you’re out on the trail, and there are also public toilets you can use before setting off.
*Grampians Peaks Trail itinerary
Beginning in Halls Gap on Day 1 and ascending via the spectacular Grand Canyon to the park’s most popular lookout, The Pinnacle, the Grampians Peak Trail climbs again to Mt Rosea on Day 2 and then finally descends to the valley as you loop back around to Halls Gap by Day 3. It’s a scenic weekend hike and a perfect introduction to the spectacularly underrated Grampians National Park!
Day 1: Halls Gap to Bugiga Hiker Camp
- Distance: 8.6km
- Elevation change: 840m
- Trail hours: 4hrs
- Campsite: Bugiga Hiker Camp
The Grampians Peaks Trail begins right from the centre of Halls Gap, quickly leaving town behind as you climb steadily into the Wonderland Range. The first section follows a well-formed track through dry forest before transitioning into more rugged terrain.
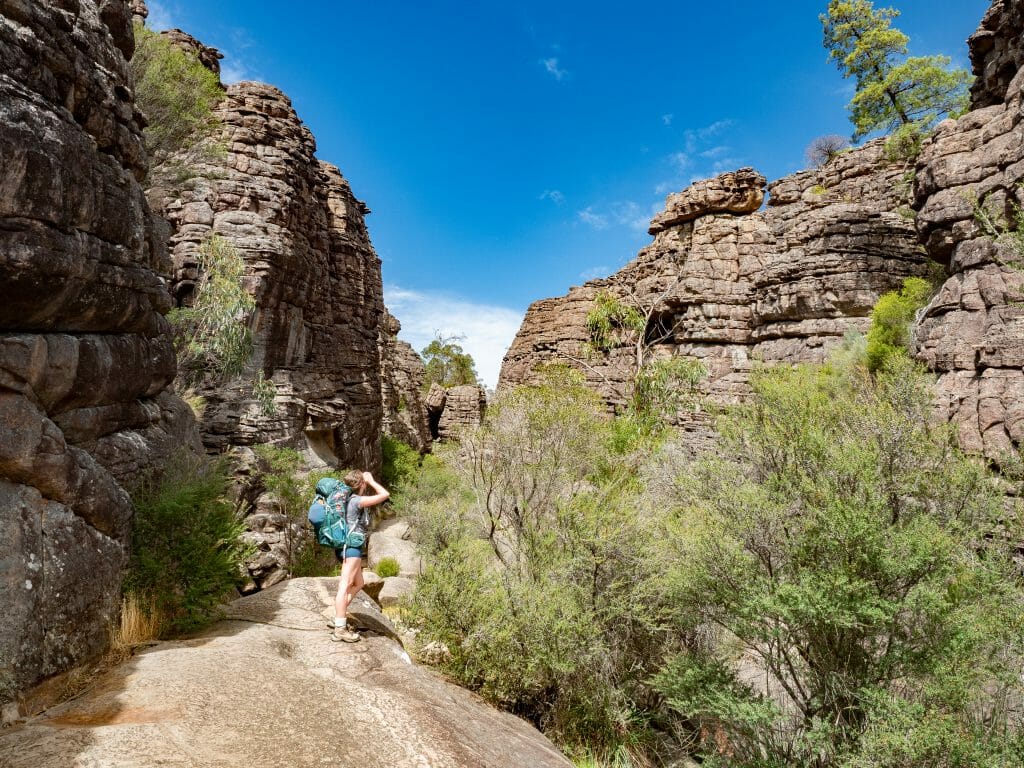
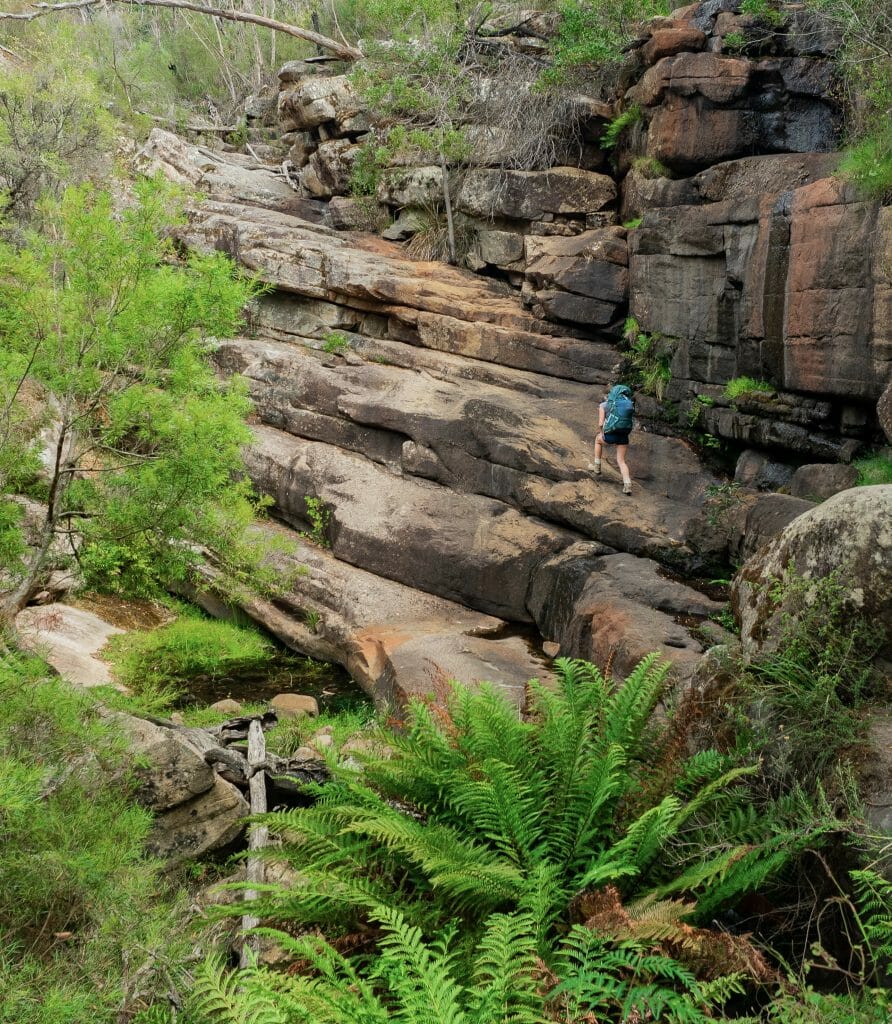
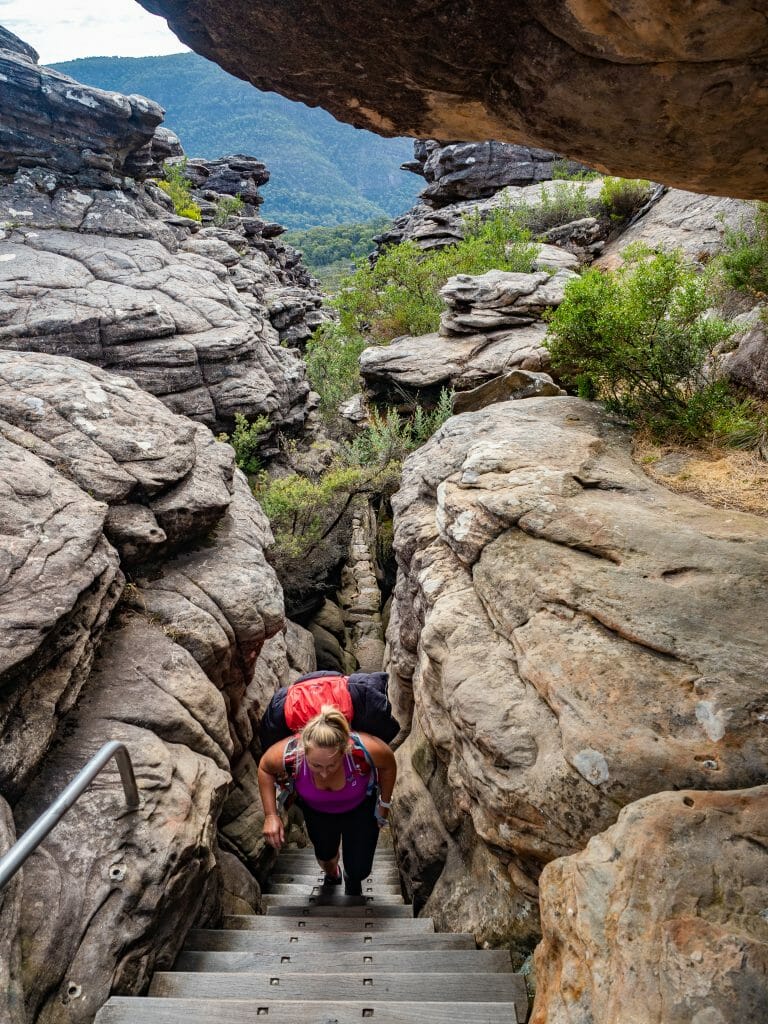
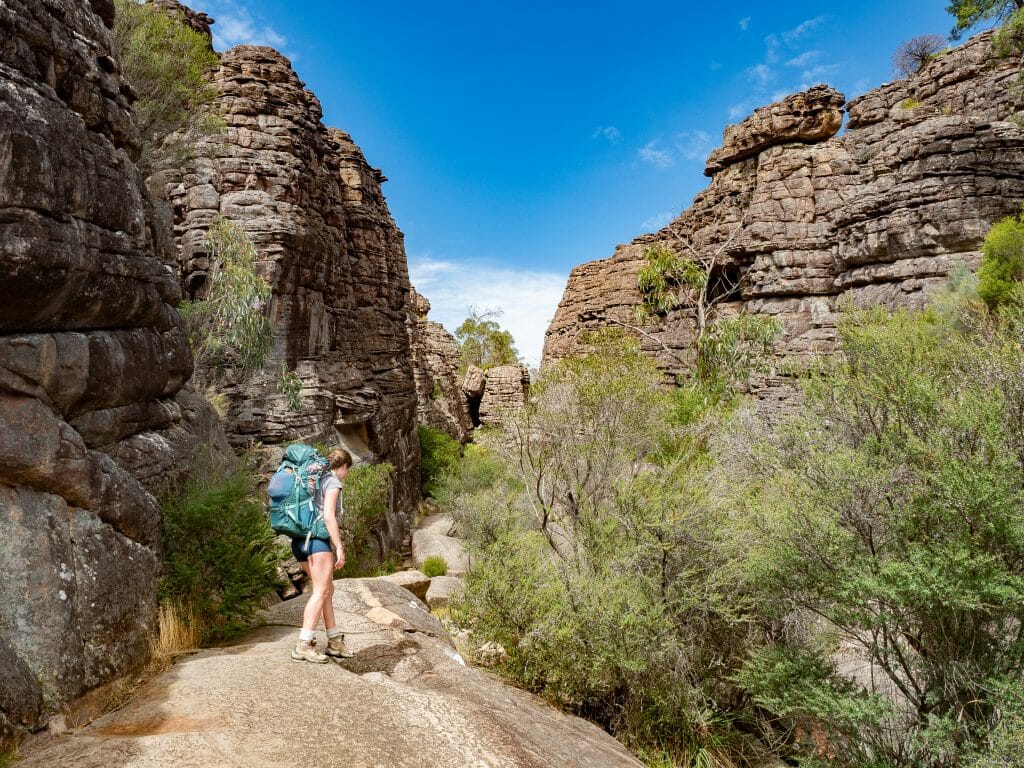
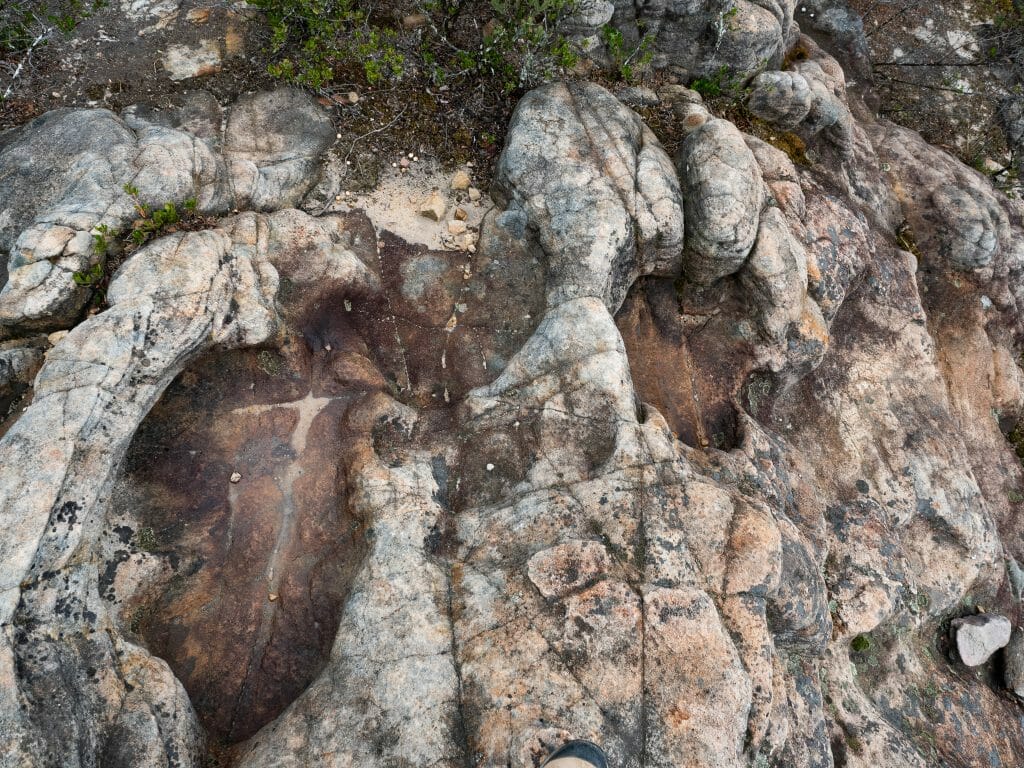
Stomp up large steps carved into the stone, scale enormous sheets of rock, and squeeze through narrow cracks and crevices in the Grand Canyon, all while admiring the somewhat otherworldly landscape of layered sandstone and stacked rock, some of which look almost like enormous sedimentary broccoli florets.
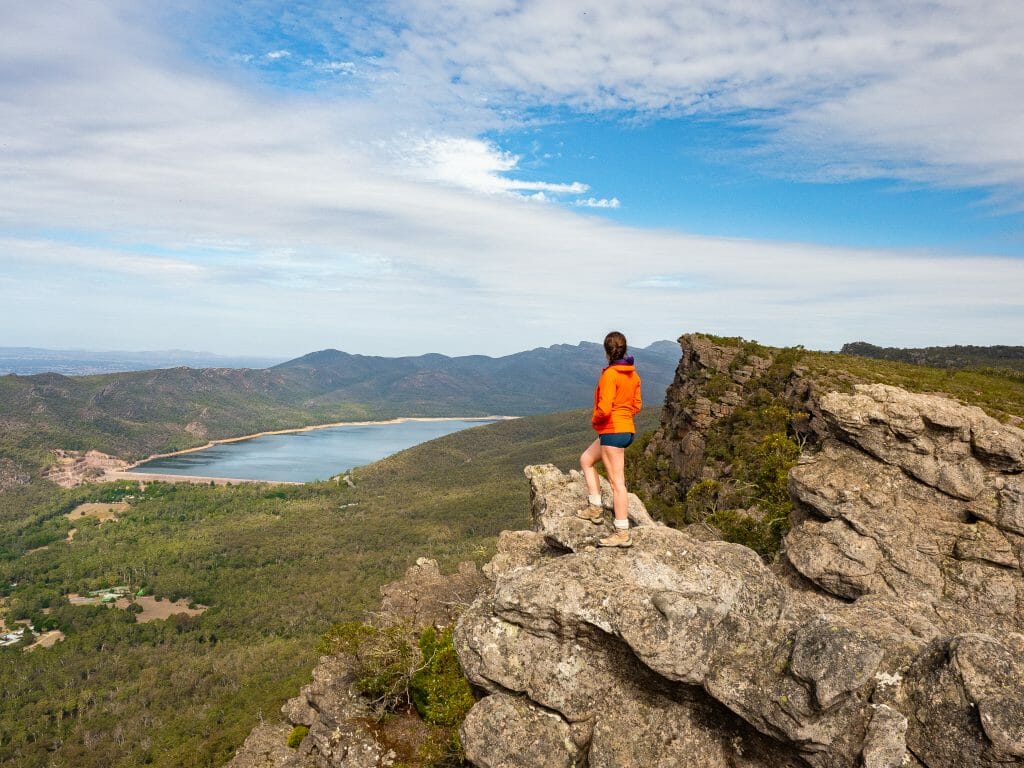
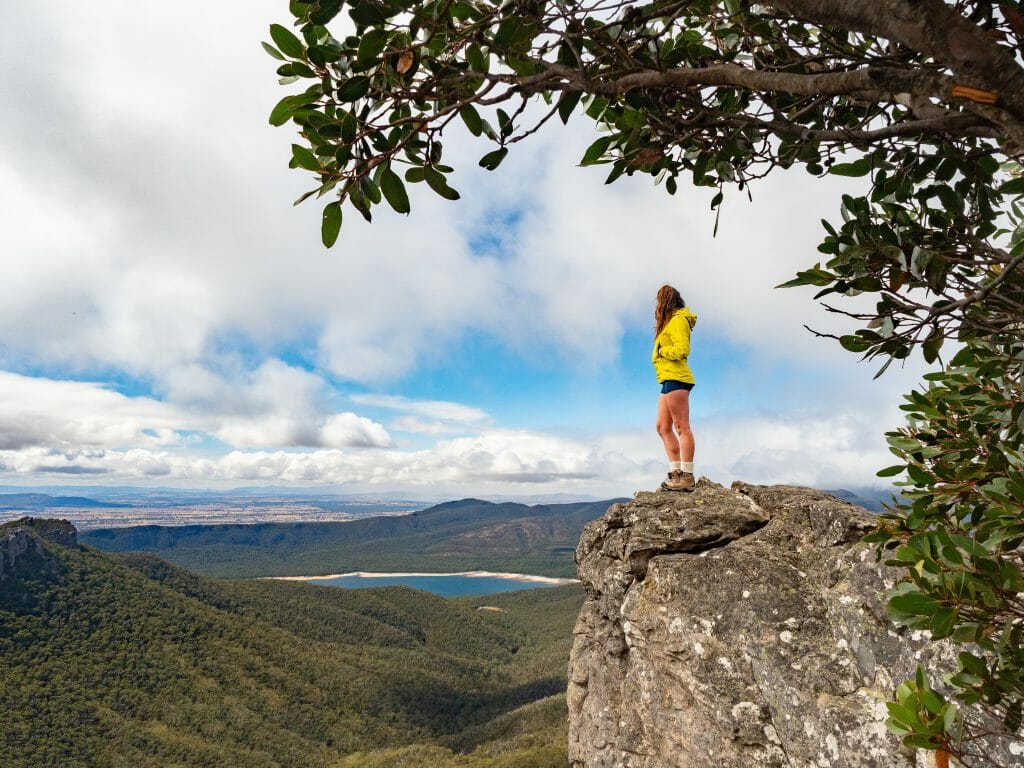
This is easily one of the most visually striking parts of the entire trail, weaving through narrow rock corridors, towering sandstone walls, and sculpted formations before continuing up to the iconic Pinnacle lookout. From here, the trail opens onto expansive views of the prow-like rocks that jut from the Wonderland Range and over the checkered valley and turquoise Lake Bellfield below.
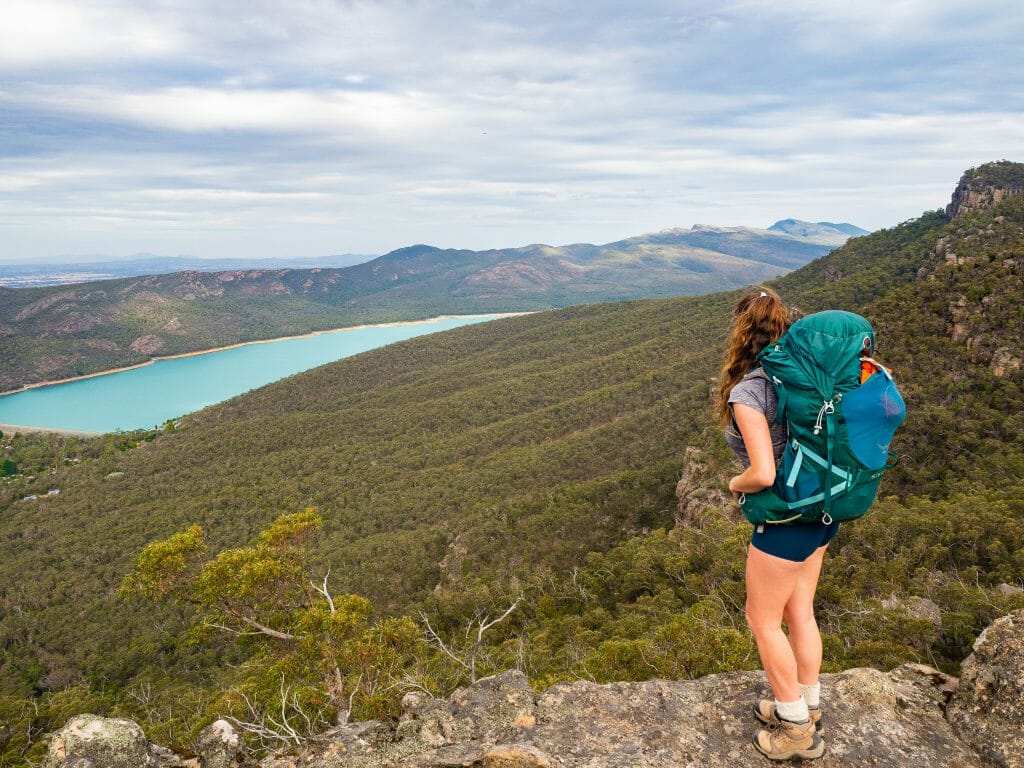
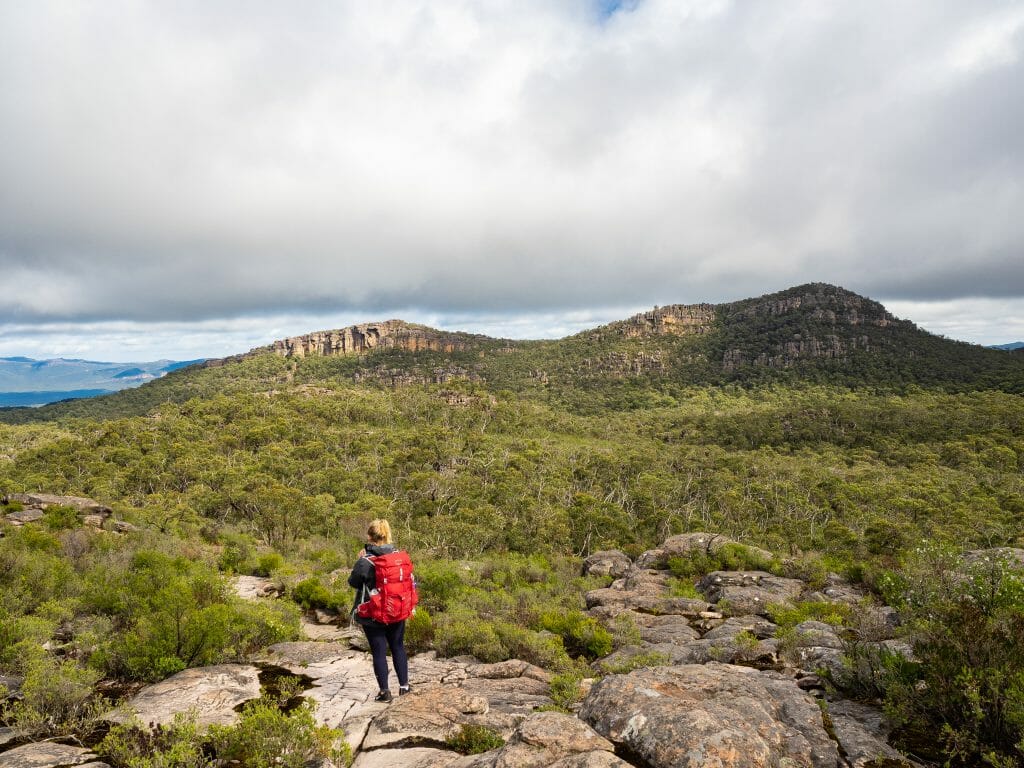
Beyond the Pinnacle, the route continues along the exposed ridgeline of the Wonderland Range, with sweeping panoramic views accompanying you for much of the final stretch.
After a series of smaller ascents and descents across rocky terrain, the trail descends slightly into Bugiga Hiker Camp, a purpose-built campsite nestled among the bush and a comfortable place to rest after a challenging but incredibly scenic first day.
Day 2: Bugiga Hiker Camp to Borough Huts Campground
- Distance: 13.8km
- Elevation change: 1,033m
- Trail time: 4.5hrs
- Campsite: Borough Huts Campground
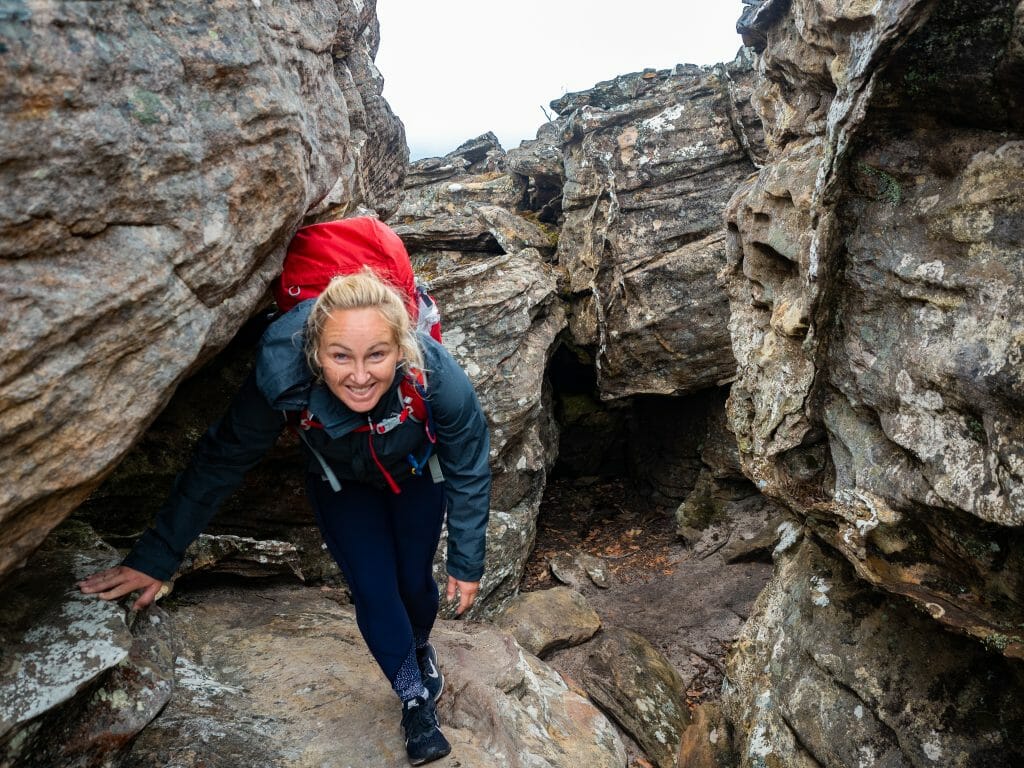
After an incredibly scenic start to the Grampians Peaks Trail yesterday, our second day involves even more expansive views of the range! Leaving Bugiga Hiker Camp, the trail climbs steadily through forest before becoming increasingly rugged as you approach Mt Rosea. This is one of the most adventurous sections of the entire route, with rock scrambling, narrow tunnels, and cave-like formations requiring hands-on navigation as you work your way towards the summit.
At 1,009m, Mt Rosea offers sweeping views over the Serra and Mt Williams Ranges before beginning a long descent over rocky terrain, gradually easing into more defined track as you drop into the valley below.
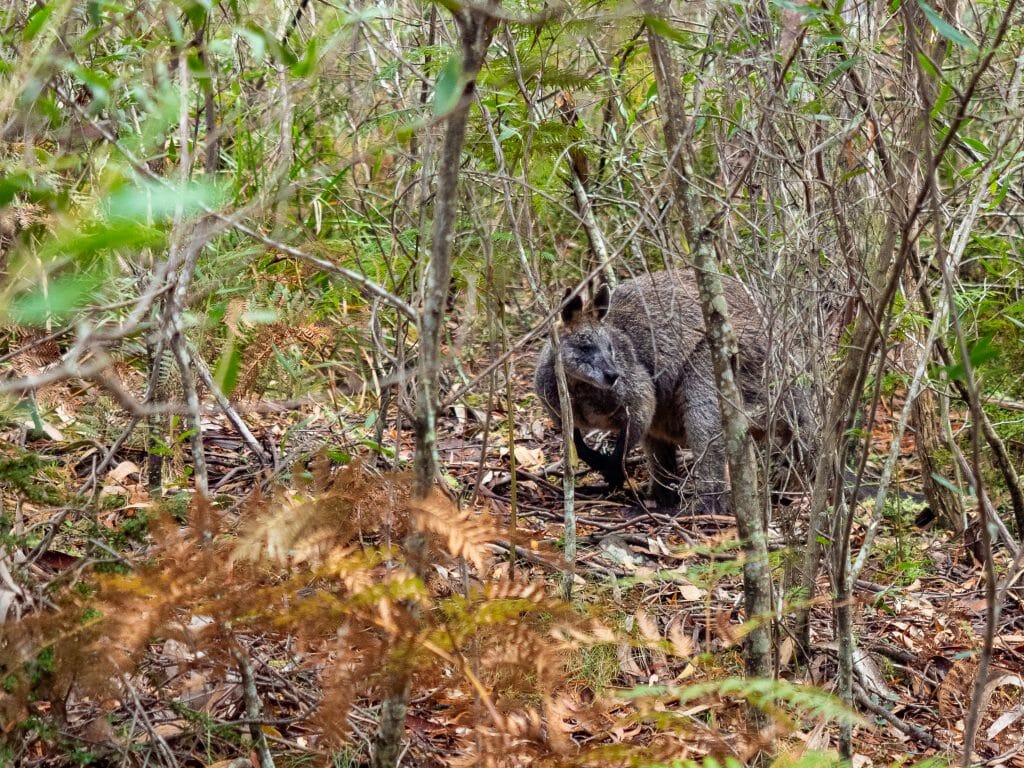
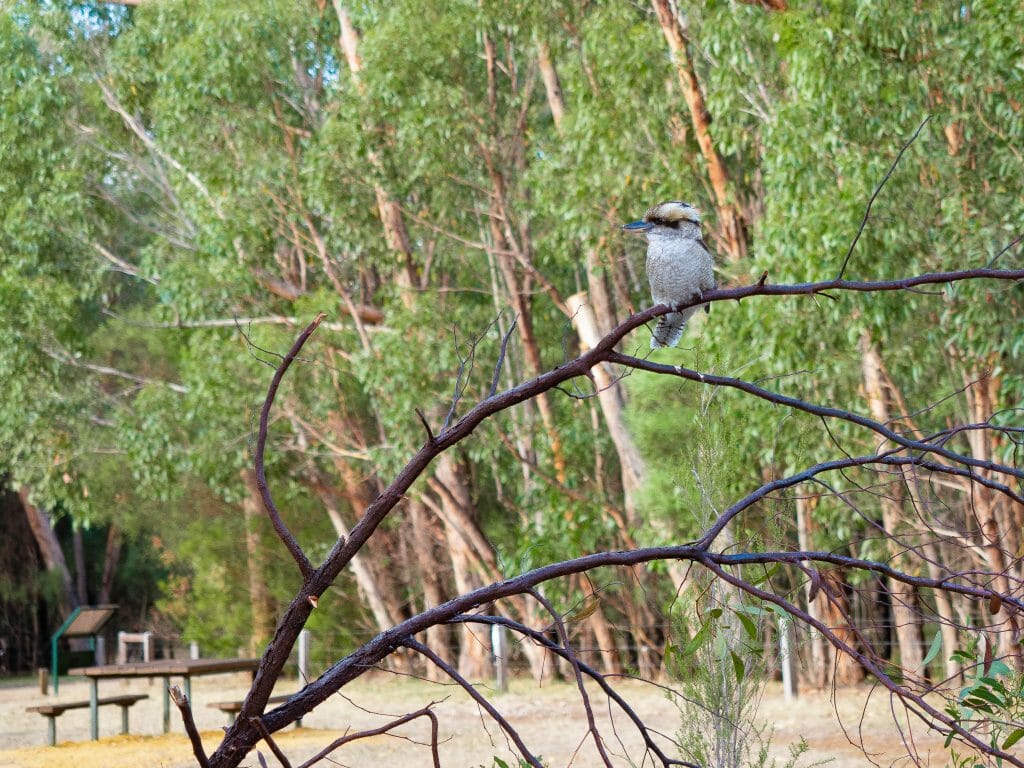
The final stretch to Borough Huts Campground is a gentler walk through bushland, a welcome change after the technical terrain earlier in the day. Keep an eye out for wallabies and kookaburras along the trail, before arriving at this spacious, vehicle-access campground for the night.
Day 3: Borough Huts Campground to Halls Gap
- Distance: 12.8km
- Elevation change: 600m
- Trail time: 3hrs
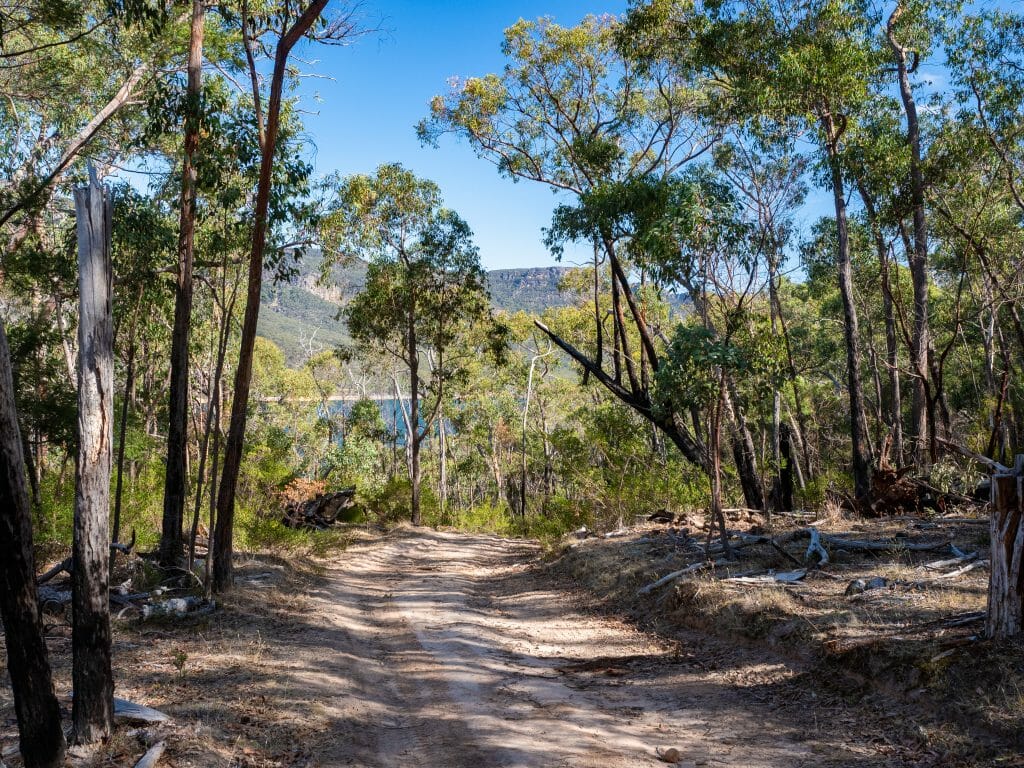
The final day leaves Borough Huts Campground on relatively well-graded trail before transitioning onto fire roads that lead back towards Halls Gap. After the rugged, scenic terrain of the first two days, this section feels noticeably more straightforward, with a steady but less technical walk through open bushland.
The trail eventually delivers you back into Halls Gap, completing the loop and marking the end of Stage 1 of the Grampians Peaks Trail— a satisfying and accessible 3-day adventure through one of Victoria’s most scenic hiking regions!

What to expect on the trail
Terrain
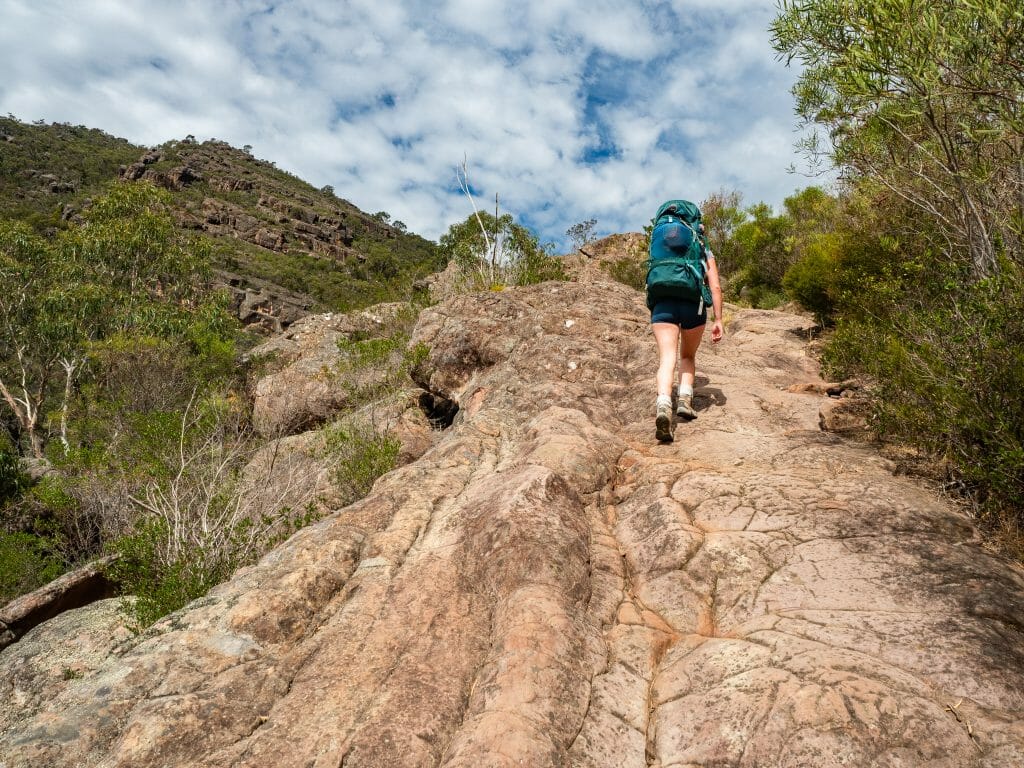
For the vast majority of both day 1 and day 2 on the Grampians Peaks Trail, expect to be walking on rock rather than an actual dirt track. Sometimes this is in the form of stone steps, but mostly you’ll just be directly on large sheets of sandstone.
It’s not necessarily challenging terrain, but it’s still best to have sturdy hiking boots, as the rock can get slippery in the rain and additional ankle support is always welcome.
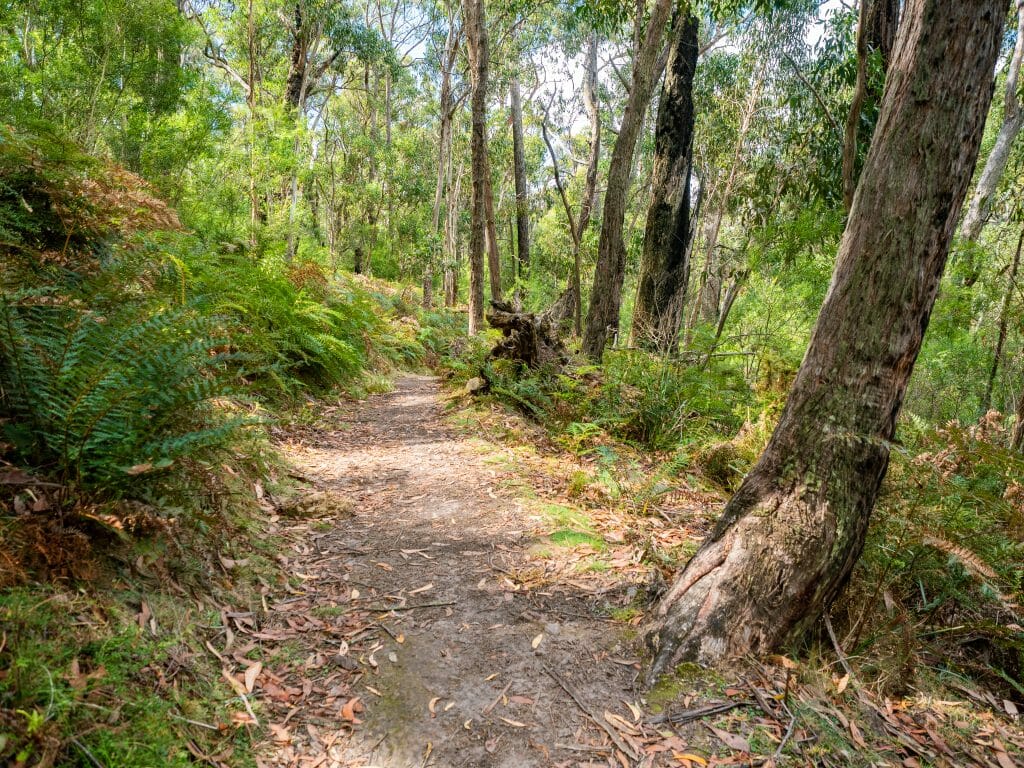
On the descent from Mt Rosea on day 2 and all of day 3 from Borough Huts to Halls Gap, there is dirt trail rather than rock, mostly winding through trees. The first section of trail is well-graded and free of most roots and rocks, but the fire trail on the final day is incredibly steep, as well as covered in sand and nasty ruts. This adds a little bit of difficulty to the already gnarly ascents and descents, but it’s still nothing you can’t handle in runners if it’s really all you have.
>>> Not sure what footwear to bring? Check out my guide to outdoor shoes, boots & mountaineering footwear
Navigation
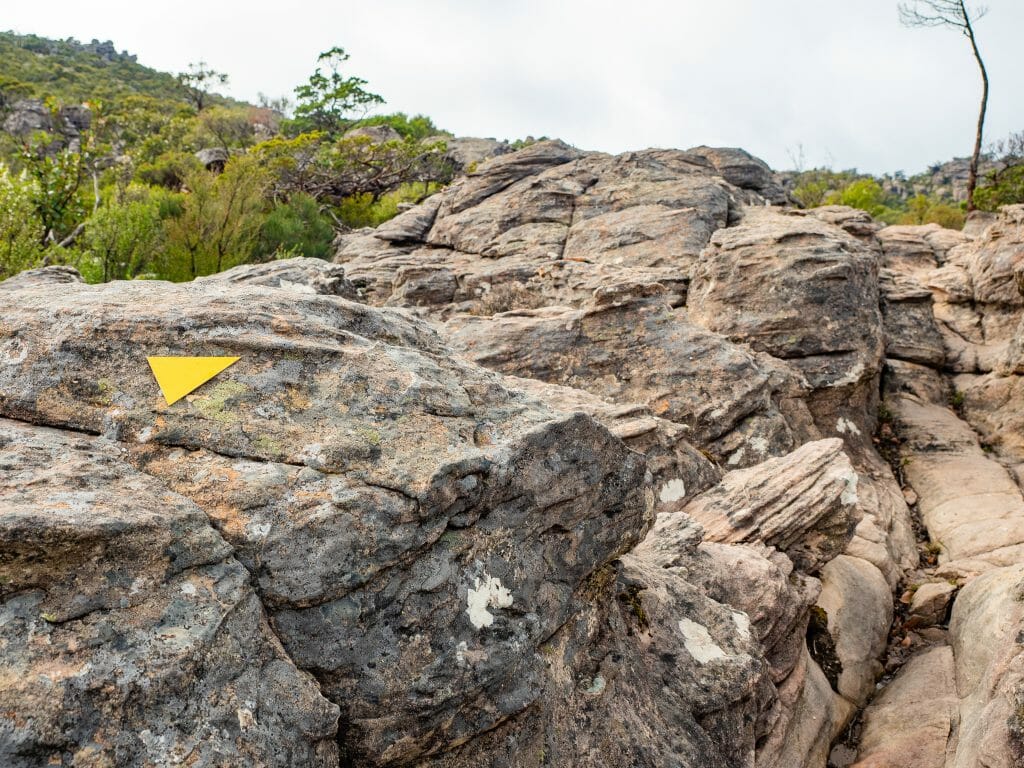
Thankfully, there really aren’t any navigational demands on the Grampians Peaks Trail, with frequent yellow markers guiding you through the rocks and intermittent signs displaying distance to the next peak or campground. I didn’t carry a map or a GPS, and honestly there really is no need.
Camping & facilities
As described previously, the campgrounds along the Grampians Peaks Trail have drop toilets (with toilet paper!) and a couple of running water taps. It’s not permitted to camp outside of these designated campgrounds, but honestly you wouldn’t want to— they’re well-equipped and offer some of the only reliable water access on the trail.
Other than Bugiga Hiker Camp and Borough Huts Campground, don’t expect to find any toilets or running water along your route, except at the trailhead in Halls Gap.
Water access
There is running water at both Bugiga Hiker Camp and Borough Huts Campground, but it’s untreated rainwater, so I’d recommend packing a lightweight water filter to be extra cautious.
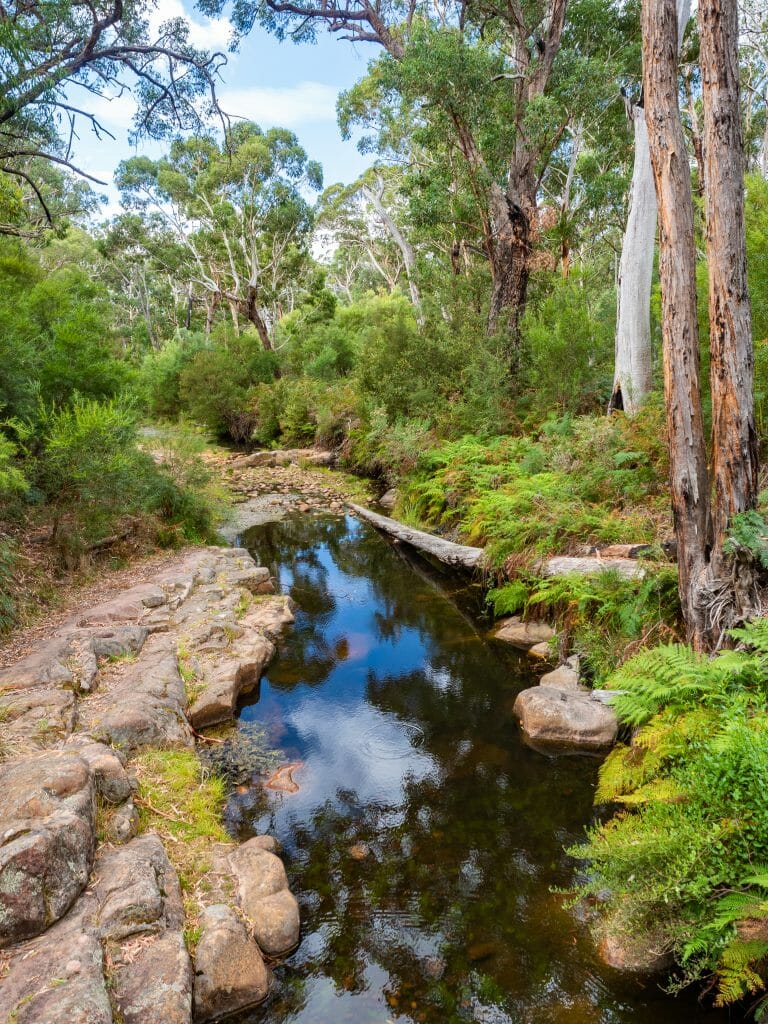
In the event that there hasn’t been much rain and the water runs out at one or both campgrounds (rare, but it could happen), you should be able to filter water from nearby streams on both days. There is a water source about halfway through day 1 at Splitter Falls, as well as a creek closer to camp, and a (somewhat stagnant) river right before Borough Huts on day 2, so you can fill up if necessary. There isn’t anywhere to fill up on the final day, so if there’s not water at Borough Huts, you should backtrack slightly to the river before setting off.
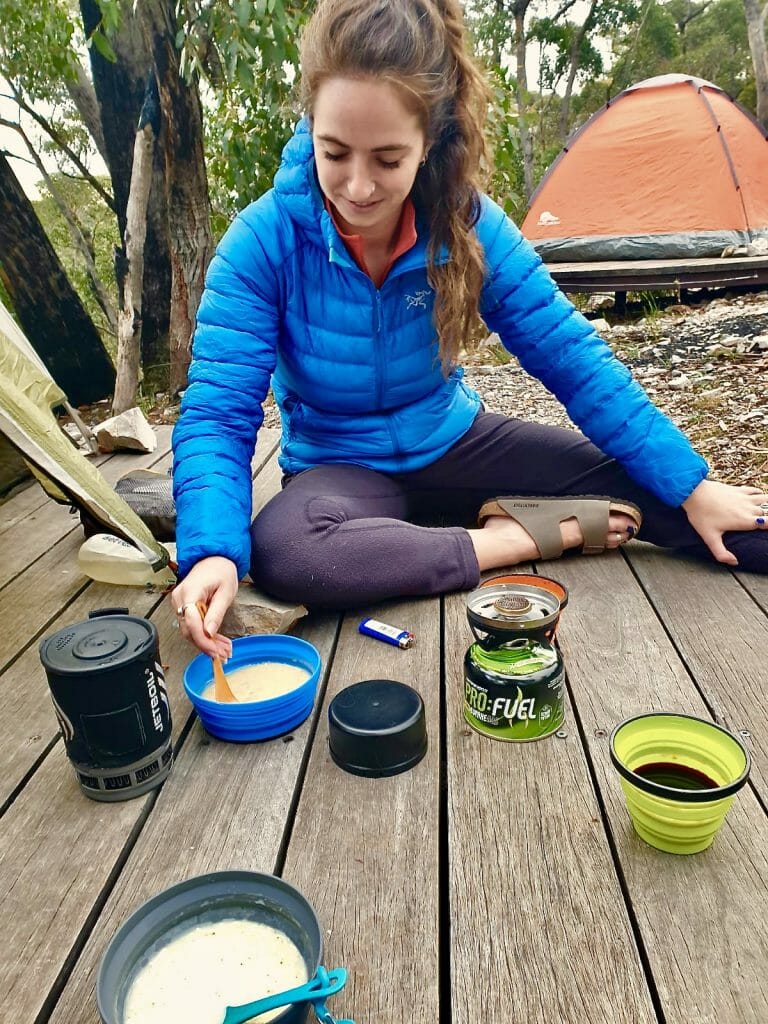
>>> Check out this post for a breakdown on how we pack backcountry food for multi-day backpacking & mountaineering trips
Safety
VicParks recommends that hikers register their walk with Brambuk the National Park and Cultural Centre in Halls Gap so that the rangers are aware of who’s out in the bush. If you’re hiking alone or aren’t confident on the trail, it might also be worth carrying a PLB or SOS device. I really didn’t feel like it was necessary on this trail, since there’s intermittent mobile reception and you’re not really that far from town, but it’s up to each individual hiker.
Taking normal precautions, like letting someone know when you’re setting off on the trail, bringing a charged mobile phone, and packing a well-stocked first aid kit is probably more than enough for most hikers. Only you know your physical abilities and personal experience, though, so use your best wilderness judgement!

Packing list for the Grampians Peaks Trail
Have a look at my core packing lists for heaps of up-to-date recommendations on my favourite hiking layers, backpacking packs, trail boots, camp cookware, and more!
>>> The ultimate overnight backpacking packing list

Read about more multi-day hikes in Australia
The Comments
jeff cabine
I’m glad that you talked about the Grampians Peaks Trail will be a 160-kilometer, 13-day trail that will cover the length of the National Park, from Mt Zero in the north to Mt Abrupt in the south, summiting stunning peaks along the way and really highlighting the Wonderland Range’s magnificence. One of my parents’ friends wants to have a tour for relaxation. Thank you for the tips about Grampians small group tours.
brooke
jeff cabineThanks for reading & happy trails!
xx bb
Eugene
Great post Brooke, information on VicParks website can be a bit slim, so this is great! Planning to do this next week, can’t wait for the full 13 day hike!
brooke brisbine
EugeneThanks for reading, Eugene!
I’m with you, definitely can’t wait for the full trail to be completed– it should be simply spectacular, if the 3-day section is any indication 🙂
Happy trails,
Brooke
PDG
Hello Brooke, Appreciate your detailed post on the Grampians Peaks Trail. We are planning to do it sometime in the next two weeks but I have some hesitation regarding the terrain. Will there be parts where you’re almost traversing cliffs ie similar to the Razorback ridge in Cathedral Range State Park? Thanks!
brooke brisbine
PDGHi Pat, thanks for checking out the blog!
There aren’t really any sections (of the first 3 days that were completed at the time of writing) on Grampians Peak Trail with high exposure. While there is definitely loose terrain and some rocky sections, the closest you’ll get to a true ridgeline is hiking along the cliffs near The Pinnacle (which is still set way back from the edge).
Hope you make it out there in the next few weeks! Happy trails 🙂
-Brooke