
Pico de Orizaba climbing guide: summiting Mexico’s highest peak
Last Updated on 12 April 2026
The highest volcano and 3rd tallest mountain in all of North America, Pico de Orizaba is a challenge that you might not expect to find in Mexico. Although not overly technical, glacier conditions above 5,000m can be absolutely wild and this mountain is a breathless ascent up snow and ice that threatens to rob you of sanity and possibly toes.
As most climbers can confirm, your joy on the summit is directly proportional to your suffering on the ascent— and we stifled tears standing on the top of Mexico, watching the sun burn across the ice below like the entire world was on fire just for us. This post describes everything you need to know about climbing Pico de Orizaba, including difficulty, entrance fees, a detailed route description, essential gear & more!
For a complete itinerary that includes Pico de Orizaba, Iztaccíhuatl, Nevado de Toluca & La Malinche (Mexico’s 1st, 3rd, 4th & 6th highest mountains), check out this post: 2-week Mexico volcanoes itinerary
A massive thank you to the expert guides at Orizaba Glacier Climbers for sponsoring my climb! As always, all opinions and recommendations expressed within this post are entirely my own.
Pico de Orizaba hiking stats
- Summit elevation: 5,636m (18,490ft)
- Estimated climb time: 9-12hrs
- Distance: 7km (4.3mi)
- Elevation gain: 1,400m (4,593ft)
- Difficulty: very difficult

How hard is Pico de Orizaba?
The difficulty of Pico de Orizaba varies widely based on your own experience: for mountaineers, this is a great non-technical summit that is feasible without a guide (and even without a rope team, if you have strong navigational skills), but for those who’ve only ever hiked, it bears emphasising that a non-technical climb is STILL a climb— you’ll be ascending 30-40° snow slopes across a glacier with crampons and ice axes, largely in the dark and in temperatures cold enough to get frostbite.
Pico de Orizaba has broad appeal beyond experienced mountaineers and it’s not uncommon to tackle this as your first high-elevation summit under the careful supervision of a mountain guide. My friends had never worn crampons or used ice axes before, so we hired local guides who transported us to the hut, outfitted them with glacier gear, and safely guided us up to the summit. If you don’t already have a handful of glacier climbs under your belt, it is absolutely worth considering a guide!

Pico de Orizaba elevation
Aside from the cold, the most challenging aspect of climbing Pico de Orizaba is undoubtedly the elevation. The entirety of the climb, from Refugio Piedra Grande at 4,260m to the summit at 5,636m, is extremely high, and most climbers will experience some effects of the altitude once on the glacier above 5,000m. DO NOT expect to come directly from sea level to the hut and successfully climb Pico de Orizaba.
Regardless of your fitness, age, or previous experience with high-elevation climbing, there is absolutely no substitute for acclimatisation! Here are some ways you can prepare for the elevation of Pico de Orizaba:
- Before arriving to the hut, you can begin your acclimatisation with something as simple as hanging around Mexico City (2,240m) or Puebla (2,135m).
- Ideally, climb a few other volcanoes in Central Mexico to log some hours above 4,500m. We started with Nevado de Toluca (4,680m) in Estado de México, then La Malinche (4,461m) in Tlaxcala, and finished with Iztaccíhuatl (5,230m) in Puebla— all of these high elevation scrambles/climbs were essential for successfully making it to the summit of Pico de Orizaba!
- Sleeping at Rifguio Piedra Grande (4,260m) before the climb is fairly non-negotiable and you might even consider staying 2 nights to further acclimatise before pushing towards the summit.
- I’d also suggest arriving to the hut around midday on the day before your climb to allow time for an acclimatisation hike— we did a short 1hr hike to a viewpoint since we were feeling pretty prepared, but others in the hut went all the way to the base of the glacier before dropping back.
I put my PhD to good use by writing a super detailed post about high-altitude mountaineering that will help you understand the difference between normal adaptations to altitude vs altitude sickness, ways you can prevent serious complications, and acclimatisation strategies: A climber’s guide to preventing & treating altitude sickness at high elevations

Practical information
When to climb Pico de Orizaba
Although somewhat counterintuitive, the main hiking and climbing season in central Mexico is during the winter, specifically November, December, January, or February — this is the dry season and the time of year most likely to have bright, clear days without precipitation.
Due to the steep terrain and high elevation of Pico de Orizaba, it is NOT safe to attempt a climb in anything but agreeable weather. After we reached basecamp ahead of our proposed climb day, an updated forecast showed overnight snow and 90km/hr winds, so we ended up pushing back a day for a better weather-window— unsurprisingly, we later learned that not one climber successfully submitted during those conditions (and most were forced to turn around before the glacier).
Our actual summit day still delivered 40km/hr winds and, up until that point, it was the coldest I’d ever been on a climb. It is VITAL that you check the weather ON the mountain (not just in Tlachichuca) prior to setting out on your climb.

Getting to Pico de Orizaba
Getting to Tlachichuca, Puebla
Pico de Orizaba straddles the border between the states of Puebla and Veracruz in Central Mexico and your first step in getting here will be to drive to the small town of Tlachichuca, Puebla, which is ~
- 2hrs (100km) from Puebla City (in the state of Puebla)
- 2.5hrs (130km) from Xalapa, Veracruz
- 4hrs (230km) from Mexico City
All of these routes are on good-quality, paved highways that lead into town, so your direction of travel will depend on where you’re flying into or travelling from elsewhere in Mexico. Ideally, you should plan to spend a night in Tlachichuca prior to continuing onwards towards the mountain.
Travelling without a car? There are a few public transport options to reach Tlachichuca, the easiest being from either Puebla City of Huamantla. Visit the bus station in Puebla to check out the current bus schedule— as far as I know, this is not posted online! Some guided climbs also include transport from Puebla City or even Mexico City, so if this is a priority, check out Explore-Share to compare options.
Where to stay in Tlachichuca
In all likelihood, you’ll need to stay a minimum of one night in the small town of Tlachichuca before transiting a further 2hrs up the mountain to base camp at Refugio Piedra Grande. If you’re climbing with friends, the absolute best spot is this Airbnb operated by Orizaba Glacier Climbers— it has 2 bedrooms, a massive lounge room perfect for organising backpacks before the climb, and a kitchen where you can easily prepare meals!
Two nights (one before and one after the climb) are included in the price of guiding services from Orizaba Glacier Climbers; at the time of writing, this was 5500p ($320USD) per person for a group of 3 climbers with 2 guides (on 2 ropes).

Getting to Refugio Piedra Grande (basecamp)
Once in Tlachichuca, you’ll need to organise 4WD transport for the additional 2hrs from town up to Refugio Piedra Grande basecamp at 4,260m. This dirt track becomes increasingly rough and, even if you have your own vehicle, it’s not advisable to drive up the rutted, rocky road yourself.
Tlachichuca is the main town providing access to Pico de Orizaba on the west side of the mountain, so you’ll have no trouble finding companies that offer transport services— you can expect to pay about 3,000p ($180USD) for the entire vehicle, split amongst however many climbers you manage to cram in, or 1,000-1,400p ($60-80USD) for a single seat, both up and back.
If you’re on a guided climb, you can count on your guides to organise transport from Tlachichuca to Refugio Piedra Grande and all you have to do is agree on a departure time from town (usually 10am)!

Entry fees for Pico de Orizaba
As of 2024, entry to Parque Nacional Pico de Orizaba is 58MXN ($3.5USD) per person, payable in cash before you reach Refugio Piedra Grande. Since you’ll need to organise 4WD transport with a local company to access basecamp on this road, they will know where to stop for you to pay for the CONANP bracelet and sign in with a few details.
Cost of climbing with Orizaba Glacier Climbers: in December of 2023, our group of 3 was quoted 5500MXN ($320USD) per person for 2 guides (on 2 ropes) + 2 nights at the Airbnb in Tlachichuca (details above) + transport from Tlachichuca to Refugio Piedra Grande + park fees for Pico de Orizaba. This is a fantastic deal considering everything that’s included, so if you’re a novice climber, definitely contact Orizaba Glacier Climbers!

Basecamp at Refugio Piedra Grande
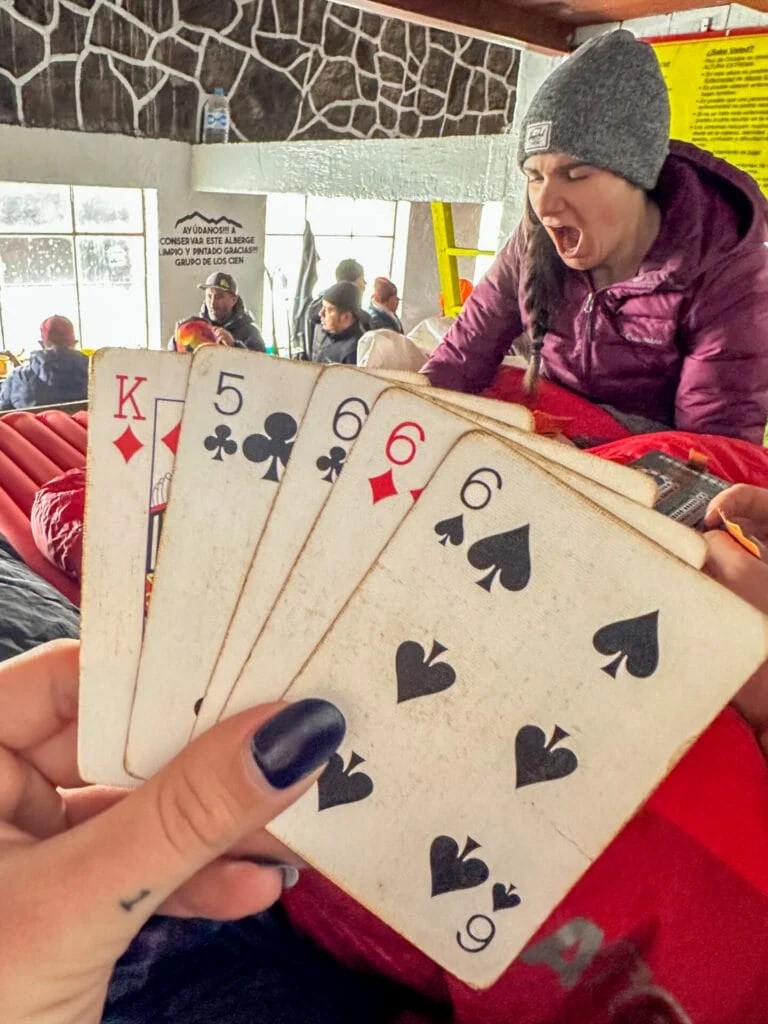
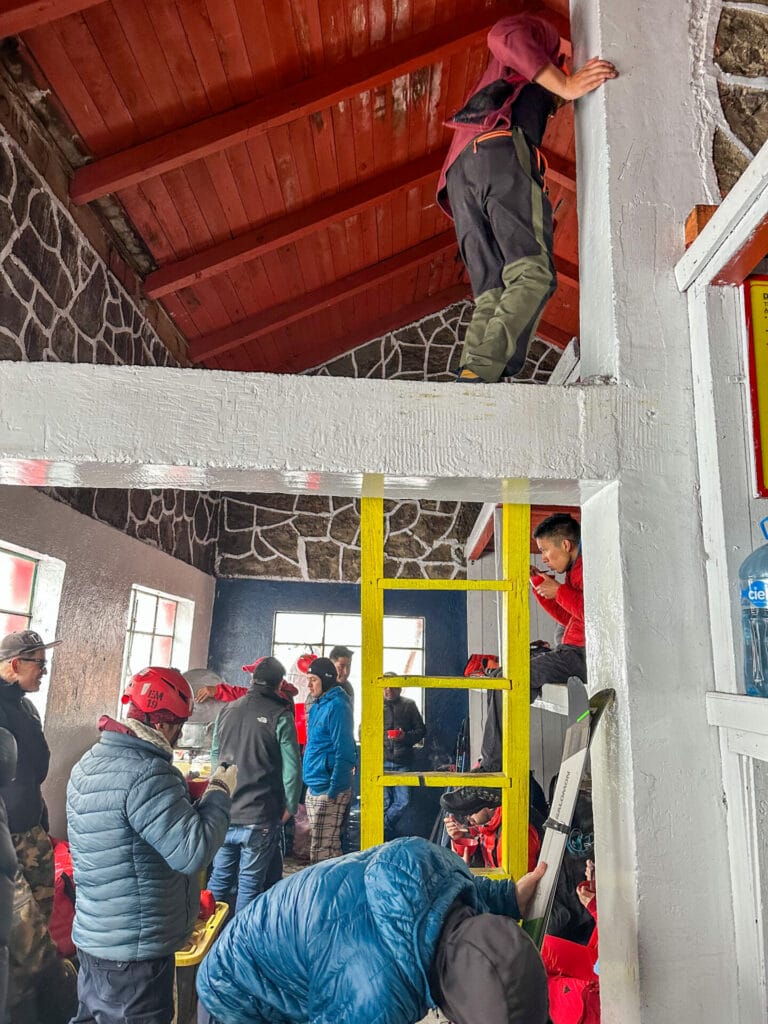
Although it’s possible to camp in your own tent at Base Camp, there’s also a very basic (but surprisingly cozy) mountain hut located at Piedra Grande that is entirely free to stay in! You’ll need to haul up your own food and water, plus bag out all waste (including toilet paper), but it’s wonderful to stay inside and depart for the climb warm and semi-rested.
The hut has three levels of wooden bunks (essentially just long sheets of plywood) that sleep 40-50 people, but it can get extremely busy right before a weather window, so I’d recommend arriving by midday to score a good spot— additional time at elevation is never a bad thing (and Piedra Grande is 4,260m)! Plan to spend the afternoon hanging out, chatting with other climbers, and resting up for an alpine start.


*Pico de Orizaba: route description
Jamapa Glacier Route

Although there are several routes by which you can climb Pico de Orizaba, far and away the most popular (and enjoyable) is the Jamapa Glacier Route, which ascends from Refugio Piedra Grande through 3 main sections:
- the approach on scree: the route typically begins with a rocky ascent, but depending on conditions, this section might be completely covered in snow, which will either make it much easier OR much harder to follow the trail (depending on how many people have climbed since the snowfall)
- the Labyrinth: after about 2hrs of ascending, you’ll likely put on crampons and pull out ice axes to help navigate the snow and ice through this section; there are 2 ways to ascend the Labyrinth, either the steeper/shorter route that sticks to the right or a more gradual/longer route that leads off towards the left (we took the direct route, it was too cold to faff around outside on some “easier” path!)
- the Jamapa Glacier: approximately 3.5hrs from the hut, you’ll reach the base of the Jamapa Glacier and it’s here where you’ll rope up and begin the true climb to the summit!


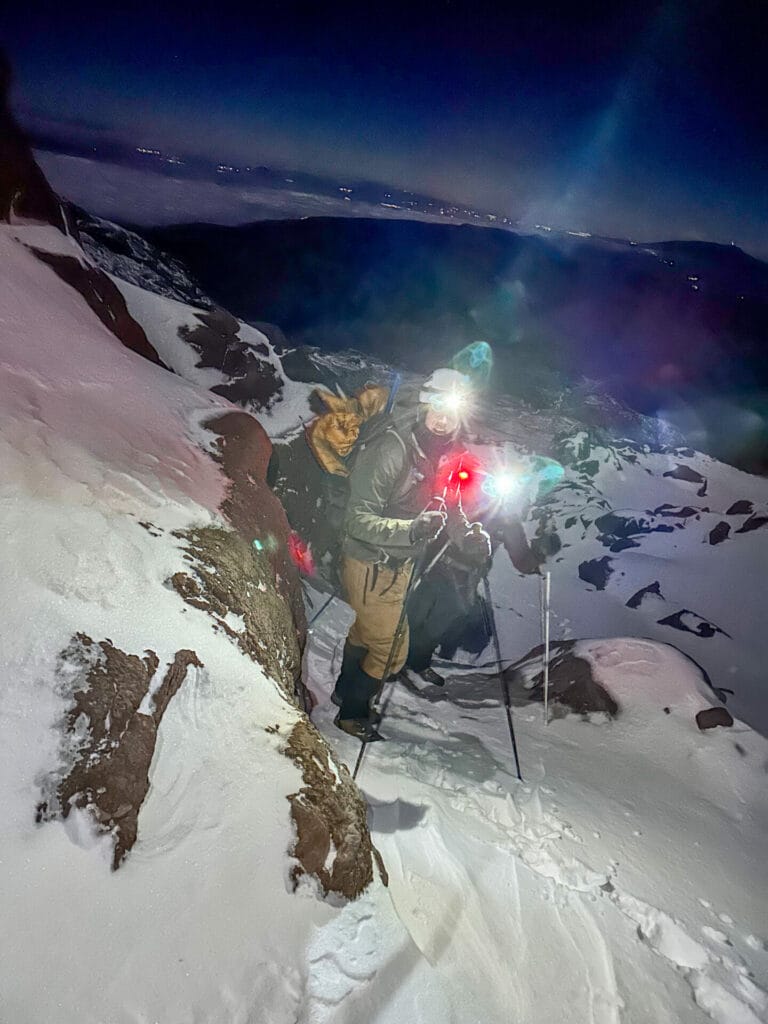
My Canadian companions and I took off from the hut at approximately 1am, climbing steadily through the snow-covered scree field with the use of poles. Conditions were such that we didn’t even need to wear all of our layers on this part of the early ascent and the sky was clear, promising a beautiful sunrise!
Unsurprisingly, very few photos were taken in the hours between departing the hut and the sun coming up about 6hrs later, but we passed through the Labyrinth (a notoriously challenging maze of ice and rock) fairly uneventfully with the use of crampons and ice axes, and then reached the base of the glacier at approximately 4.30am.


The temperature shift (and wind chill) between the early stages of the climb and what we encountered by the time we reached the Jamapa Glacier were marked— I had piled every single layer onto my body, added hand harmers, a balaclava, zipped my down hood up around my face, and still struggled to even stand for a second without trembling wildly.
We climbed for about 2hrs in the dark before nearing the summit and it was among the most uncomfortable hours of my life. At no point in my mountaineering career had I EVER been as cold as I was on Pico de Orizaba in -18C with substantial wind chill (I’d soon top that with -28C on my solo ascent of Aconcagua, but it was still agonising at the time).


Suffering aside, there’s still something so magical about climbing a glacier in the dark, nothing but the gentle crunch of snow and ice beneath your crampons, no idle conversation (since everyone is separated by a rope-length and also intently focused on their own climb), only the whip of wind in your ears and the sight of an entire world stretched below you.
And then just below the summit, the sun starts to burn across the horizon, reflecting off the snow like small crystals, illuminating an ocean of clouds beneath you. When we finally crested onto the tallest volcano in North America, the very top of Mexico, it was with equal parts relief and awe.


The iconic shadow cast by Pico de Orizaba seemed almost fantastical, hard to believe even right in front of me, but we’d made it! And to a breathless 5,636m— even with extensive preparation by way of climbing Mexico’s 3rd, 4th & 6th highest mountains (Nevado de Toluca, La Malinche & Iztaccíhuatl), the elevation was certainly noticeable in the final hours of the climb.
Between trying to manage the intense cold and the dizzying effects of low effective oxygen, Pico de Orizaba presented a greater challenge than I might have expected, but what a truly spectacular one.

It was with enormous pride that our tiny climbing club arrived on the summit of Mexico’s highest peak and you better believe we celebrated wildly once back on solid ground.


Complete Mexican volcanoes itinerary
I recommend climbing Pico de Orizaba as part of a larger itinerary through central Mexico that includes gradual acclimatisation on Nevado de Toluca, La Malinche & Iztaccíhuatl.
🌋 Check out my complete 2-week Mexico volcanoes itinerary for trip logistics, driving direction, camping information, and other essential planning tips for climbing 4 of Mexico’s 6 tallest mountains!

Essential gear for Pico de Orizaba
I wrote a detailed packing list for ALL the climbing gear, warm layers, safety essentials, and camping equipment you need to summit Pico de Orizaba: Complete Pico de Orizaba packing list: what to pack for climbing Mexico’s highest volcano
If you don’t have experience using all of this gear, guided climbs typically provide safety equipment like helmets and crampons, as well as expert instruction. Check out available trips hosted by qualified mountain guides on Explore-Share.
Read more about climbing Mexico’s volcanoes
2-week Mexico volcanoes itinerary: climbing Pico de Orizaba, Izta, Malinche & Toluca
Mexico City: the perfect 5-day itinerary for CDMX
High-altitude: a climber’s guide to preventing & treating altitude sickness
The Comments
Neil
That’s a great report. Thank you!
brooke brisbine
NeilThanks for reading, Neil!