
Climbing Mt Triglav: Čez Prag, Tominšek & Mali Triglav via ferrata in Slovenia’s Julian Alps
Last Updated on 22 April 2025
There’s a popular saying among locals: you aren’t a true Slovenian until you’ve climbed to the top of Mt Triglav. At 2864m, this is Slovenia’s highest peak, an iconic “three-headed” mountain that rises above the spectacular Julian Alps and dominates the view throughout Slovenia’s one and only national park, the aptly named Triglav National Park (Triglavski Narodni Park).
Countless routes lead to the summit of Mt Triglav, but arguably the most spectacular are those that ascend Triglav’s North Face, a 1000m limestone wall that is among the largest in the Eastern Alps, approaching from the Vrata Valley to climb one of several exhilarating via ferrata (protected climbing routes) to Slovenia’s high point.
This post describes the popular Čez Prag and Tominšek routes from Aljažev Dom to Triglavski Dom (Kredarica Hut) and the Mali Triglav via ferrata to the summit of Mt Triglav, including information about the approach, booking mountain huts, climbing insurance, a detailed route description, my complete packing list & more!
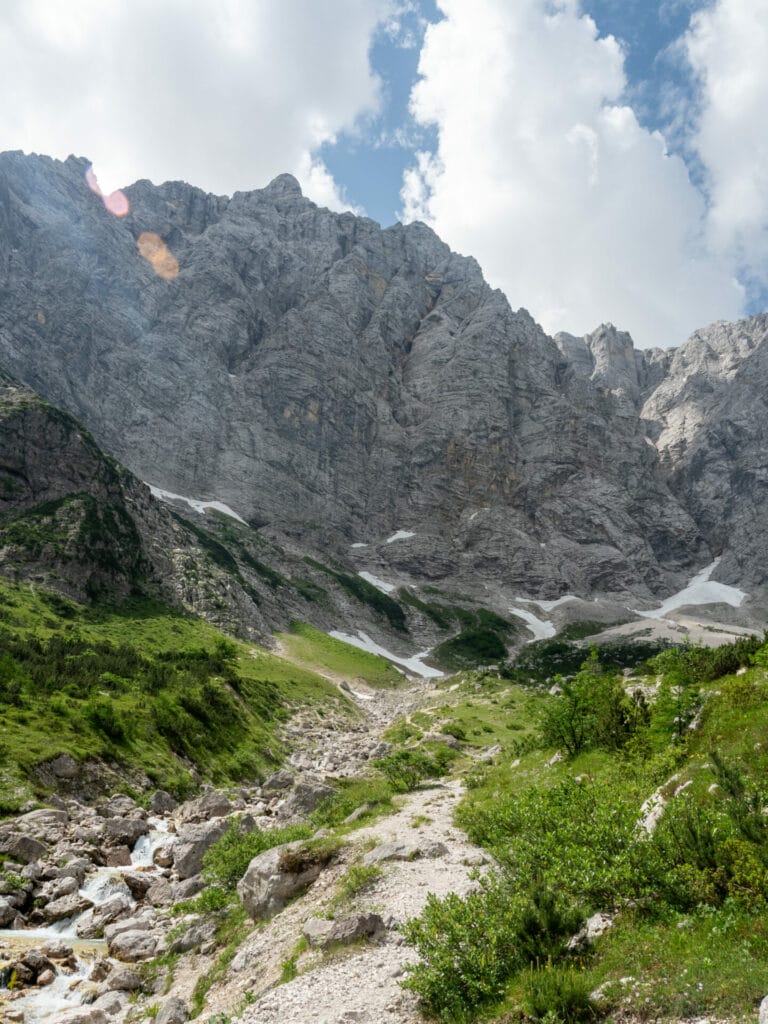
Climbing routes on Mt Triglav
There are a number of routes leading to the summit of Mt Triglav, varying in approach length, ease of access, and technical difficulty. Most of these approach one of two high mountain huts— Triglavski Dom (Kredarica Hut; 2515m) or Planika Dom (2401m)— from which the Mali Triglav via ferrata leads to the summit (2864m).
Approach routes to Triglavski Dom (Kredarica Hut) or Planika Dom
- Krma Valley: easiest & most popular route, with options to overnight at either Triglavski or Planika Dom (9km; 1500m gain)
- Pokljuka Plateau: easy-moderate hike that is less busy and perhaps more scenic, again with options to overnight at either Triglavski or Planika Dom (13km; 1600m gain)
- Vrata Valley: most challenging mixed hiking/via ferrata routes from Aljažev Dom to Triglavski Dom
- Čez Prag route: easiest of the via ferrata routes up Triglav’s North Face, with a good deal of exposure and rough terrain (9km; 1900m gain)
- Tominšek route: a more challenging route via ferrata with increased exposure not suitable for those without experience (6km; 1900m gain) *these are the two approach routes described in this post!
- Bamberg route: the most challenging of the via ferrata up Triglav’s North Face, only advisable for experienced climbers in good weather
Summit route to Mt Triglav
- Mali Triglav: moderate via ferrata route with prolonged exposure (400m gain)
All but the most extreme alpinists follow the same popular route to the summit of Mt Triglav, over the top of a satellite peak known as Little Triglav (Mali Triglav). This final ascent is a via ferrata that requires competent scrambling abilities, steady footwork, and a good head for heights, as the exposure is often intense!
This means that, regardless of your chosen approach route to the high mountain hut, you will eventually HAVE to climb via ferrata to ascend all the way to the summit of Triglav!
I’m unsure of the official rating for this route given the scarcity of English information online, but I’ve climbed heaps of via ferrata throughout the Alps and I’d estimate it as a 2/moderate route (rated out of 5) and certainly no higher than a 3/difficult. Check out this post for more details on via ferrata difficulty and understanding the grading system.

Via ferrata on Mt Triglav
If you’re reading this and wondering what on earth via ferrata is… I’d highly recommend checking out my comprehensive introduction to via ferrata to learn more about this form of protected climbing!
Essentially, you’ll wear a harness and lanyard with carabiners, clipping into steel cables that offer continuous protection on exposed and challenging areas of the climb. Steel footholds and pegs have also been installed in the rock to provide you with assistance, lessening the technical experience required to climb otherwise challenging or risky routes in the Alps.
ALL of the routes described in this post include sections of via ferrata, so before hitting the trail, make sure you have appropriate gear & understand how to use it (again: even if you choose an easy hike from Krma Valley and Pokljuka Plateau, you will STILL have to climb via ferrata to the summit).
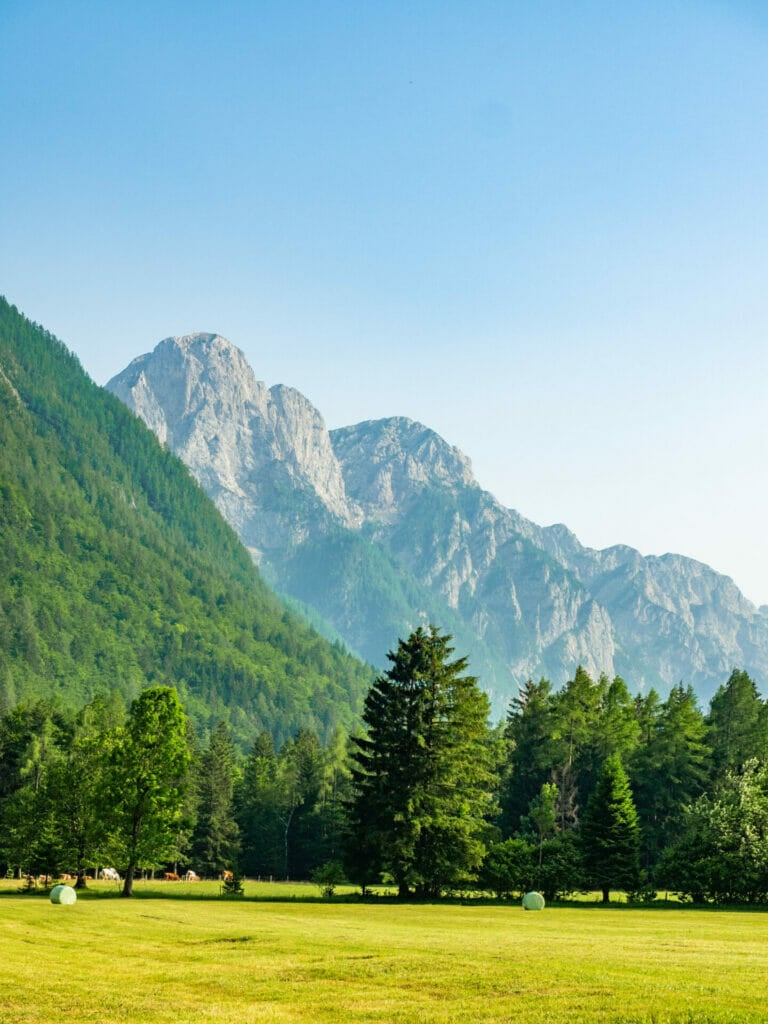
How hard is it to climb Mt Triglav?
The difficulty of climbing Mt Triglav depends somewhat on your chosen route, with the easiest approaches from Krma Valley and Pokljuka Plateau suitable for most hikers and the more challenging via ferrata routes up the North Face from Vrata Valley only recommended for experienced scramblers.
Once at Krederica or Planika Dom (the high mountain huts below the summit of Mt Triglav) however: 98% of climbers will follow the Mali Triglav route to the top of Slovenia’s highest peak (and the other 2% will follow alpine routes well beyond the scope of this post). Whether you choose the easiest or the hardest approach, you will STILL have to climb the same via ferrata route to reach the summit of Mt Triglav.
It’s important to understand that Mt Triglav is NOT a hike. You can absolutely reach the high mountain huts without any scrambling experience or specialised gear, but you can ONLY ascend to the summit by climbing via ferrata. If you’re not comfortable tackling the exposed sections alone, joining a guided ascent with a certified mountain guide is a great way to reach the summit safely.
Beginners should check out this post, written after climbing dozens of challenging via ferrata all over the world: Introduction to via ferrata + complete via ferrata gear list
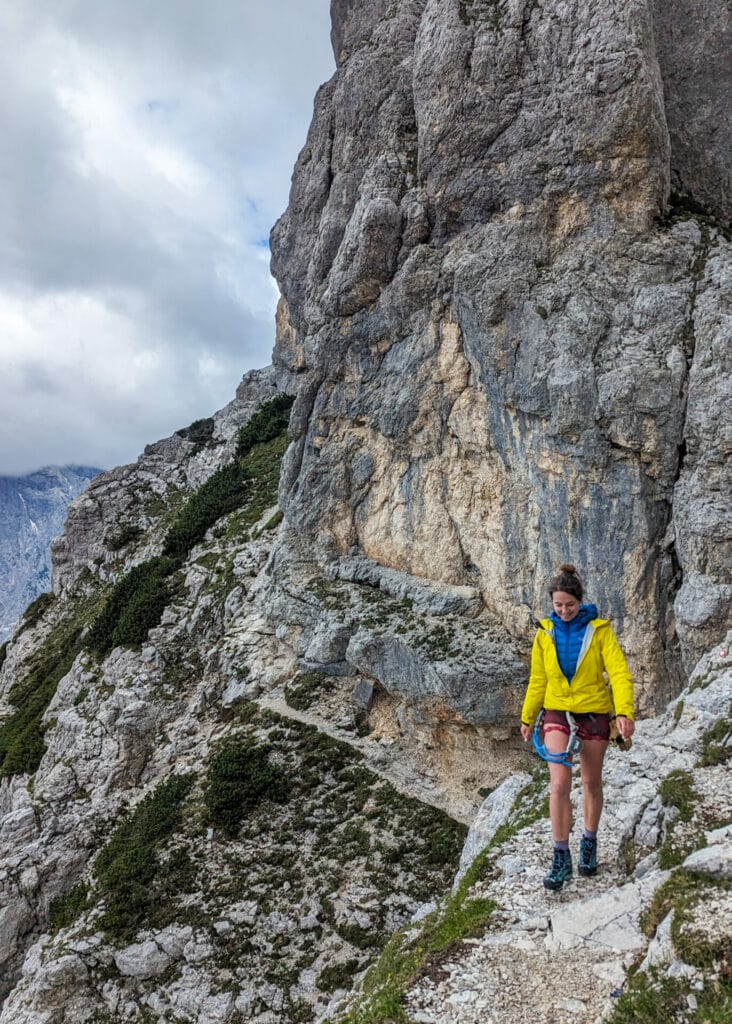
Čez Prag vs Tominšek Route
This post describes the two most popular via ferrata routes (Čez Prag and Tominšek routes) from Vrata Valley, which I’d classify as moderate/challenging hiking & easy/moderate climbing.
On the ascent to Triglavski Dom/Krederica Hut, you’ll encounter rough terrain on both of these routes, including:
- loose scree slopes
- permanent snowfields & remnants of the Triglav Glacier (no need for alpine gear)
- steep limestone slabs
- exposed, narrow ledges
Čez Prag is the easier of the two, but I prefer Tominšek slightly in terms of scenery and exhilarating exposure; both routes are suitable for experienced scramblers with via ferrata gear, competent navigational skills, and good physical stamina. I’d recommend ascending one route and descending the other for a bit of variety, which is what I’ve described here!
If it’s your first time on via ferrata or you’d prefer the extra confidence of an experienced guide, there are plenty of guided Triglav ascents that handle logistics, safety, and all the technical details for you. Compared guided options on Explore-Share.
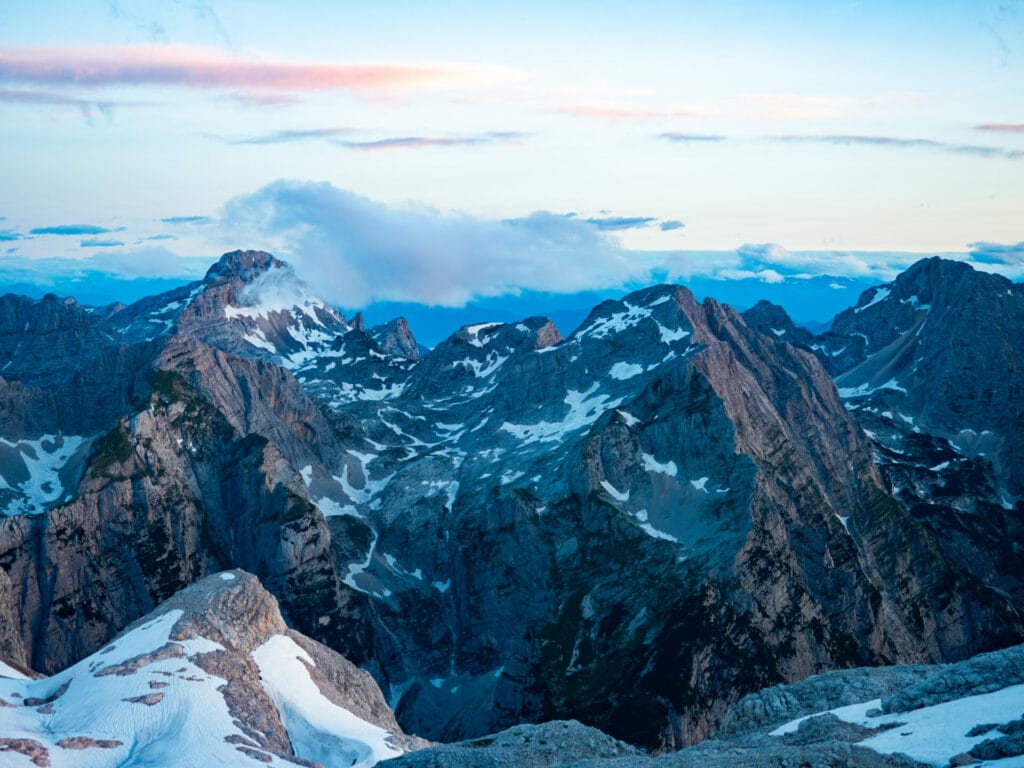
Logistics
When to climb Mt Triglav
The standard climbing season on Mt Triglav runs from July to September, during which time you’ll enjoy generally agreeable conditions and less snow around the summit.
I climbed Mt Triglav in mid-June, which limited my route options slightly and added some logistical challenges. You’ll notice (from all the cloudy photos) that I did not have perfect conditions on my summit day and actually had to stay an unplanned night in a high hut to wait out a hail storm, so I’d recommend climbing within the standard window unless you’re an experienced climber prepared for ALL conditions!

Aljažev Dom & Mt Triglav!
Getting to Vrata Valley (Aljažev Dom)
This post describes the Čez Prag and Tominšek via ferrata routes up the North Face of Mt Triglav, both of which begin from the incredibly charming Aljažev Dom v Vratih in the Vrata Valley.
Aljažev Dom is located 35min from the town of Kranska Gora; about halfway along the main road, you’ll turn up a steep but nicely paved mountain road in the town of Mojstrana, following this for the final 20min to the the parking area just below the mountain hut. I’m not aware of any public buses that connect to Aljažev Dom, so far the best way to get here is to drive.
As you may have surmised from the photo above, however, I did not drive: I cycled to Aljažev Dom. I wanted to climb Mt Triglav during my 9-day bike touring trip through the Julian Alps and, although it was a true highlight of the trip, I must warn you that the road from Mojstrana to Aljažev Dom is seriously brutal on a bike.
It may only be 10km, but gains several hundred metres of elevation and often steepens to 25% grade— I had to push my bike up some of these sections, which was hardly any easier with my panniers fully loaded with camping and climbing gear… all this to say, you certainly CAN cycle to Aljažev Dom, but I’d recommend having a light bike with no gear or an e-bike unless you’re prepared to suffer a little.
Want to plan your own cycle trip in Slovenia? Juliana Bike Trail: a complete guide to Slovenia’s best cycling tour
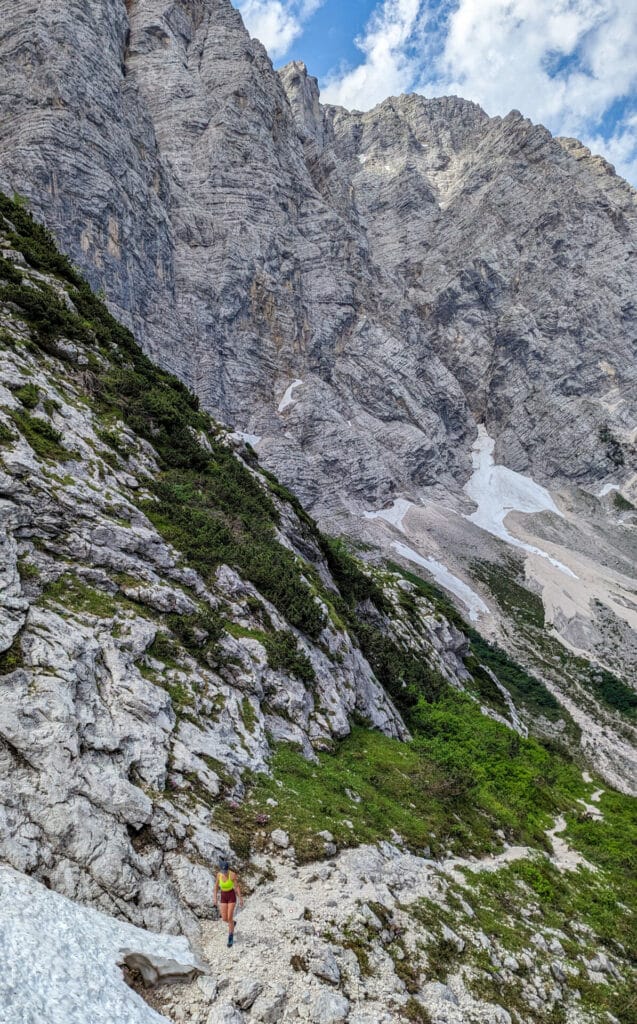
Mt Triglav climbing itinerary
Although it’s possible to climb Mt Triglav in a single day, it is far more enjoyable (and safer) to spread the climb over 2 days! Here are my recommended options for a 2-day climb (the first is reflective of my own climb itinerary) ↯
2-day/2-night climb of Mt Triglav
- Day 0: arrive at Aljažev Dom & stay the night
- Day 1: depart early to hike to Triglavski Dom/Kredarica Hut; if conditions are good, summit Mt Triglav & return to Triglavski Dom for the night
- Day 2: second chance to summit Mt Triglav in the morning; then descend to Aljažev Dom & continue onwards to your next destination in Slovenia
2-day/1-night climb of Mt Triglav
- Day 1: arrive at Aljažev Dom & hike to Triglavski Dom/Kredarica Hut for the night
- Day 2: summit Mt Triglav this morning; then descend to Aljažev Dom & continue onwards to your next destination in Slovenia
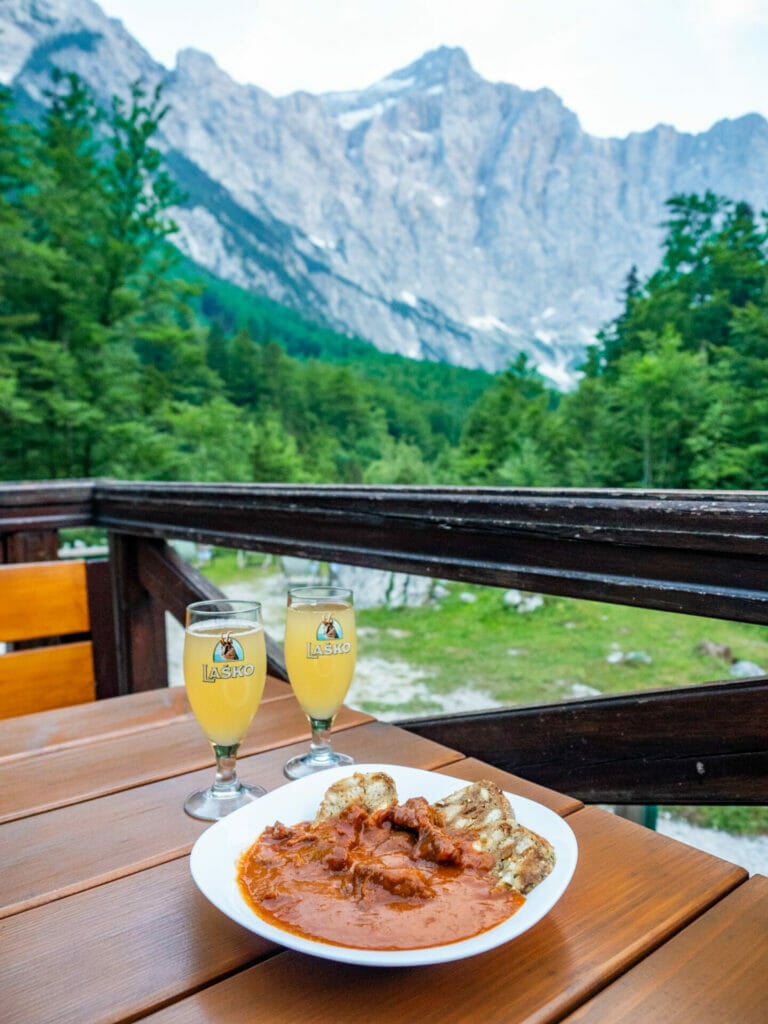
Staying overnight at Aljažev Dom
For most itineraries, it makes sense to spend the night before OR after the climb at Aljažev Dom, a beautiful mountain hut located at the start of the Vrata Valley hiking approach to Mt Triglav. When I climbed in late June, the hut was all but empty, but during peak season from mid-July through the end of August, it is definitely advised to book in advance!
Operated by the lovely Vilma and staffed by a handful of friendly Slovenian women, you will be taken care of well at Aljažev Dom. And if you happen to be insane like me and arrive by bike, they will generously allow you to store all of your belonging in the locked shed while climbing! One million stars!
- Cost of half-board (per person): 50€ (-15€ alpine club discount)
- Amenities: charging in reception and rooms, cold showers for free or hot showers for 3min per 1€ coin
- Food: with half-board, enjoy a delicious 2-course dinner and continental breakfast; the hut also serves food and drinks a la carte
- Book Aljažev Dom online


Staying overnight at Triglavski Dom/Kredarica Hut
Triglavski Dom is a true alpine hut, with a bustle of hikers and climbers chattering in the dining room, hearty hot meals, and a fantastic view of the Julian Alps right out your window. Ammenities are very basic due to the location, but you’ll never catch me complaining about sleeping INSIDE prior to a climb (as is very rare outside of Europe)!
- Cost of half-board (per person): 58€ (-10€ alpine club discount)
- Amenities: charging in common areas, slippers for use in the hut
- Food: a rotating menu of local Slovenian fare served for dinner, with a la carte options for lunch and drinks
- Book Triglavski Dom/Kredarica Hut online
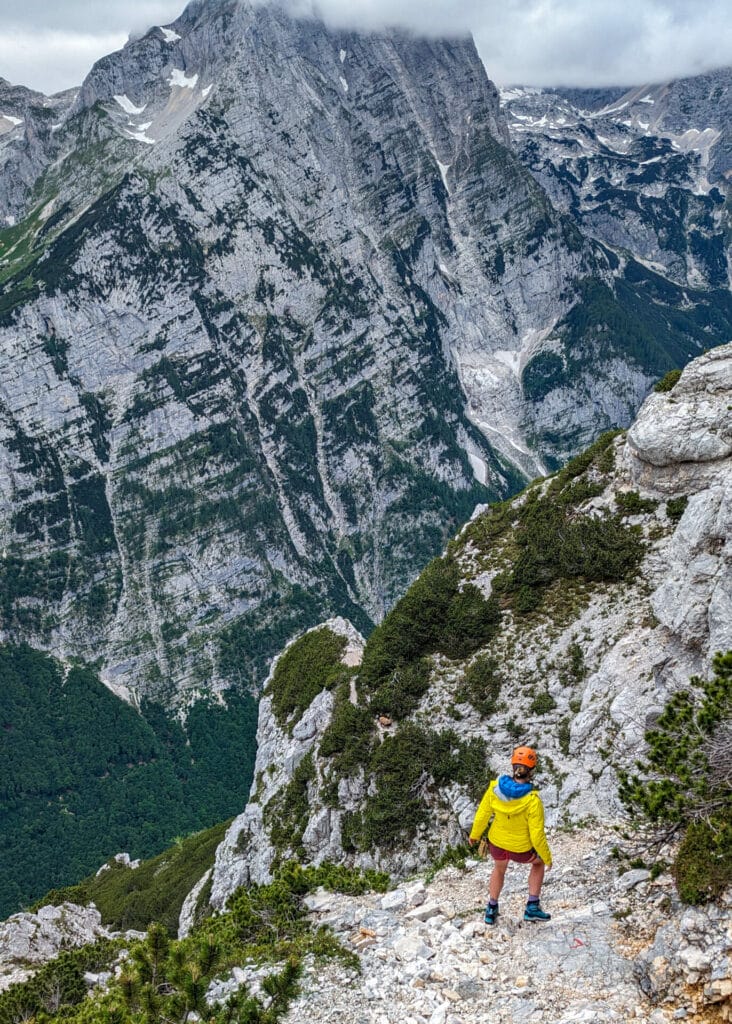
Permits & fees
One of the best things about via ferrata in the Julian Alps is that it’s entirely free— if you have your own gear and are comfortable climbing without a guide, there are no required permits or fees!
*For absolute beginners without any climbing experience, you may WANT to hire a guide or join a tour for your first via ferrata and I’d encourage you to do so! Explore-Share connects you with certified local guides offering guided climbs from popular towns like Bled, ensuring a safe and rewarding ascent of Triglav.
Mountain insurance
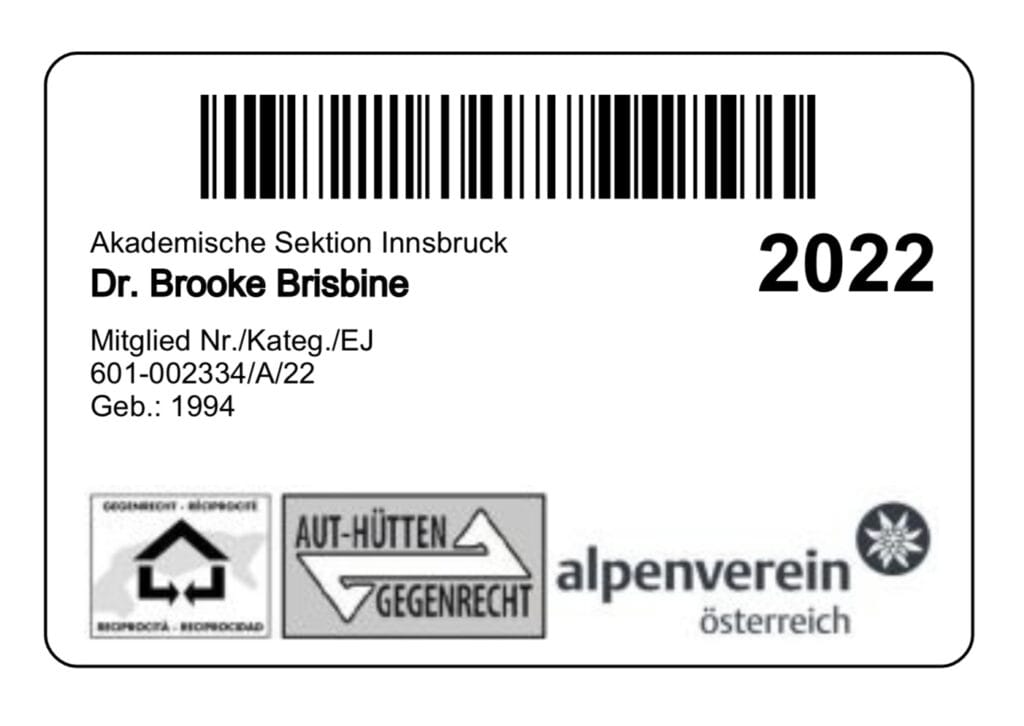
In addition to excellent hut discounts at all of Slovenia’s mountain Dom, Alpine Clubs throughout Europe offer insanely affordable emergency medical insurance that will cover you on while climbing. In the case of the Austrian Alpine Club, this includes 25,000€ in emergency rescue costs, 10,000€ in medical coverage, and unlimited repatriation, among other benefits. And the best part is that this insurance works across the entire WORLD (yes, you read that right)!!
I personally joined the Academic Section of the Austrian Alpine Club (Alpenverein Österreich, Akademische Sektion Innsbruck)— annual dues are just 69€ (+ add a partner for 53€), which is comparable to other clubs, but I find the Austrian website particularly easy to use and you can sign up entirely online.
With Alpine Club membership to any European club, you’ll save -15€ off the cost of half-board at Aljažev Dom and -10€ off Triglavski Dom, already paying for half of your membership fees in discounts!
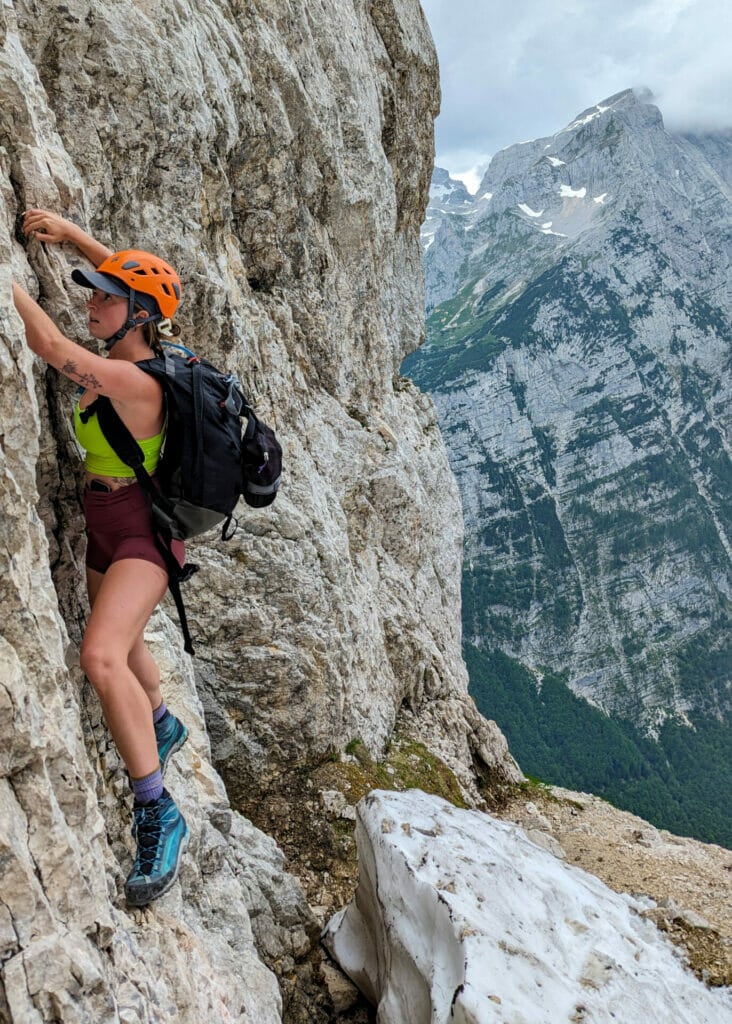
*Route description: climbing Mt Triglav
Beginning gradually at first and then climbing steeply above the valley, the approach to Mt Triglav is a spectacular showcase of the Julian Alps, dominated by the three-headed highpoint of Slovenia!
There are 2 common via ferrata routes that lead up the North Face of Triglav from the Vrata Valley: Čez Prag is slightly easier and a bit more gradual, while Tominšek features more exhilarating exposure and arguably better views. I ascended via Čez Prag and descended via Tominšek, but you might prefer to do the opposite; flip the details below accordingly.
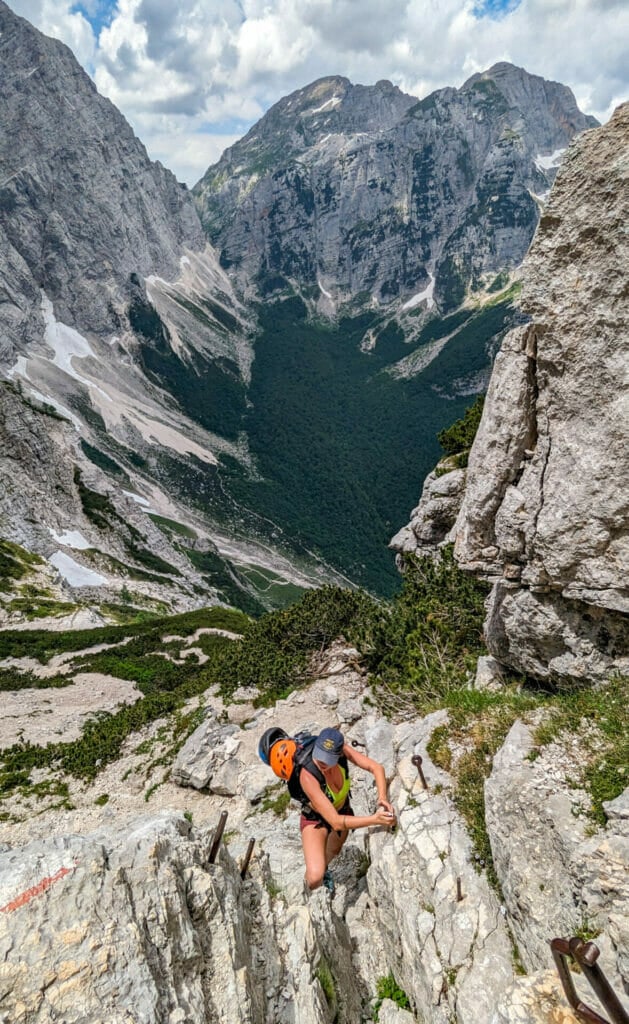
Čez Prag Route: Aljažev Dom to Triglav Dom
9km; 1900m gain; 4.5hrs ascending
Within an hour of fairly easy uphill hiking up the valley from Aljažev Dom, you’ll reach sections of iron pegs and stemples, some with a corresponding cable, that indicate the start of the Čez Prag route up the North Face. The climbing is fun and not overly demanding; you don’t necessarily need to clip in for any of these, but use your best judgement on when to wear a helmet.
Follow red and white paint (either flags or dots) to stay on the route; a GPS will not hurt to ensure you’re following the safest path!


In under 4hrs, you’ll reach a signed mountain pass, from which the route levels substantially— although it lists Triglav Dom as 1h15m further, you can likely reach it in about 40min from this junction. Depending on the time of year, you may encounter some snow here, but it’s unlikely that you’ll need microspikes or more serious climbing gear (crampons, ice axe) anytime after late spring.

Mali Triglav Route: Triglav Dom to Triglav summit
350m gain; 2.5hrs return
Several routes are also possible from Triglav Dom (2515m) to the summit (2864), but the most direct is up and over Mali Triglav, a sub-summit of Triglav. It’s a fun via ferrata with near-continuous cable protection, but the exposure isn’t too extreme, nor are the vertical ascents, so confident climbers may find they don’t really need to clip in. However, it is still advised to climb with gear in the case of inclement weather and a helmet is strongly encouraged for the entire route!
Atop the summit lies the iconic Aljažev Turret. As the story goes, during Nazi occupation in Slovenia, a local priest bought 4-square-feet of land at the top of Triglav and, under the cover of darkness, a group of locals carried the structure up the mountain piece by piece to erect it on the summit as a sign that this country still belonged to the Slovenians. This structure remains a national landmark and a massive point of pride for local people!


As mentioned above, it’s definitely possible to climb from Aljažev Dom to Triglav and back in a single day, but this is entirely dependent upon mountain weather. On my climb day, a massive storm materialised about 5min before I reached the hut and continued through the entire night, such that the staff were actually forbidding people to ascend— I was grateful for the flexibility to extend by one day, by which time the weather had improved somewhat!
For a more relaxed itinerary, you can plan to stay a night at Triglav Dom; see details above.
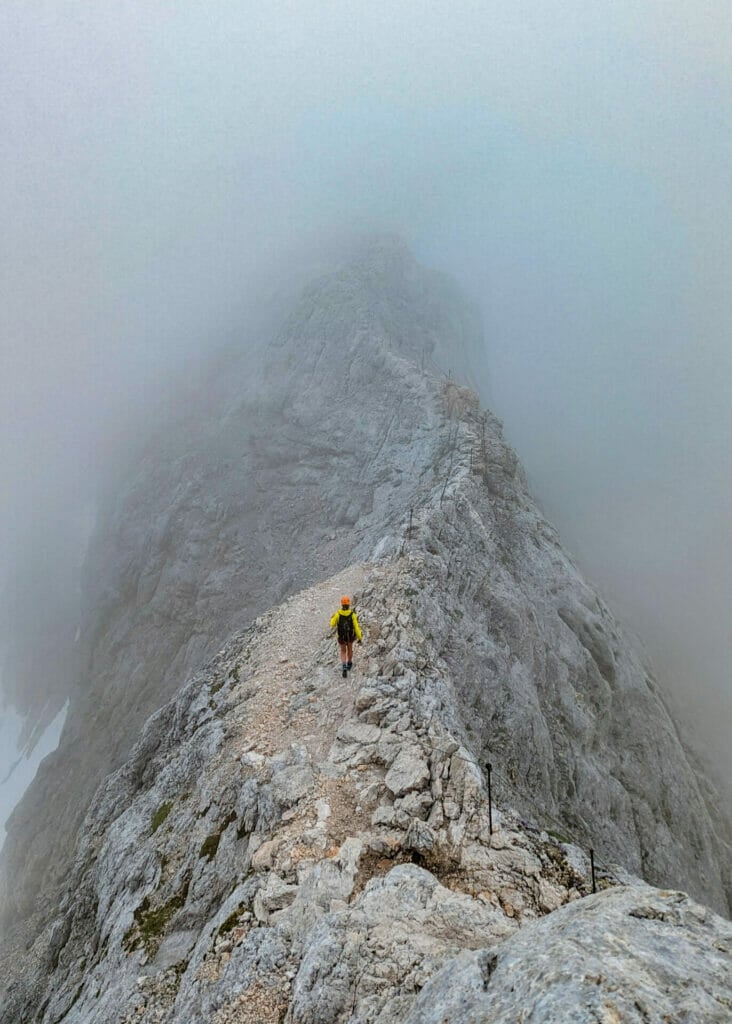
Tominšek Route: Triglav Dom to Aljažev Dom
6km; 1900m loss; 3.5hrs descending
From Triglavski Dom, descend below the pass to a signed junction, where you can descend left through the scree and begin dropping into the valley on the Čez Prag Route or continue straight to explore the Tominšek Route. This via ferrata is a bit more challenging and has substantially more exposure— it’s definitely my favourite of the two!
Once off the cables, the trail loses elevation rapidly through the trees all the way back to the valley floor, from which it’s an easy walk back to your starting point at Aljažev Dom.
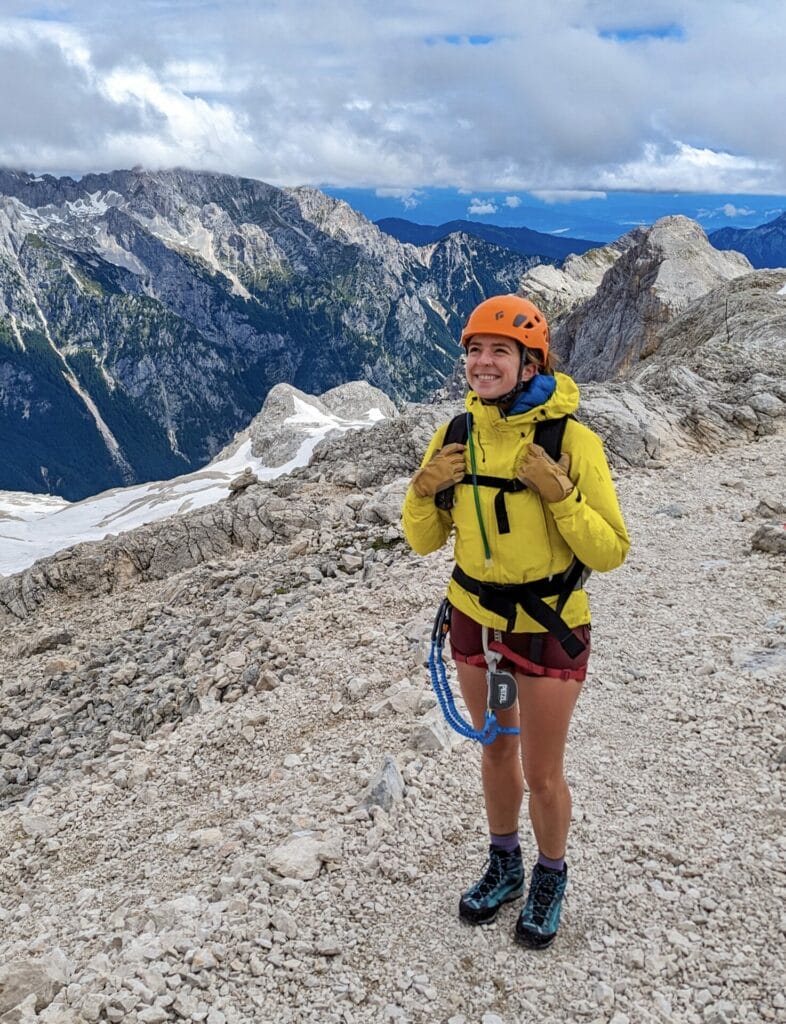
Packing list for Mt Triglav
Here’s a look at everything I carried with me on Mt Triglav, including the requisite via ferrata gear! If you’re unfamiliar with using this equipment, going with a guide can be incredibly helpful, as they’ll typically provide via ferrata gear and support you in using it.
Hiking gear

25-35L backpack: Osprey Tempest 30L (women’s) or Talon 33L (men’s/unisex)
Choosing a backpack is about as personal as it gets, but I’d recommend something in the 25-35L range with sturdy hip belts, a good suspension system, and some back venting for the 1-2 day climb of Mt Triglav. I love my 33L Osprey Talon— it’s lightweight, easy to climb with, yet still very comfortable for the approach!

water bottle or bladder: Nalgene Wide-Mouth Water Bottle 32 fl. oz.
For ease of filtering and filling up water on multi-day treks, I find wide-mouth water bottles much easier to use than hydration bladders!

filter: Katadyn BeFree 1.0L Water Filter Bottle
This is my go-to lightweight backpacking filter, allowing you to safely drink from sinks and streams all over the Alps!
Via ferrata gear

climbing harness: Black Diamond Momentum women’s or men’s
For the via ferrata sections leading up to Mt Triglav, you’ll need a climbing harness to attach your safety lanyard to. I love the fit and comfort of this crag climbing harness and have used it on countless adventures around the Alps!

via ferrata lanyard: Black Diamond Iron Cruiser
A via ferrata lanyard connects to your climbing harness and is then used to clip into the cable for continuous protection along exposed or challenging routes; the shock absorber helps distribute force in the event of a fall. After trying several different styles, I personally prefer these flick-lock carabiners for ease of use and this bungee-style lanyard for improved mobility on the rock.

climbing helmet: Black Diamond Half Dome women’s or men’s
For via ferrata routes, a light climbing helmet is essential to protect against rockfall, which might come from other climbers above or even unstable areas of the mountain.

climbing gloves: Metolius Half Finger Climbing Gloves
Although not technically required, you’ll enjoy via ferrata a lot more with climbing gloves to protect your hands from cable-burn, particularly when down-climbing. I like these half-finger gloves, which maximise dexterity for climbing— plus, I can still operate my camera/phone with them on!
New to via ferrata? Read this post: Introduction to via ferrata + complete via ferrata gear list
Clothing
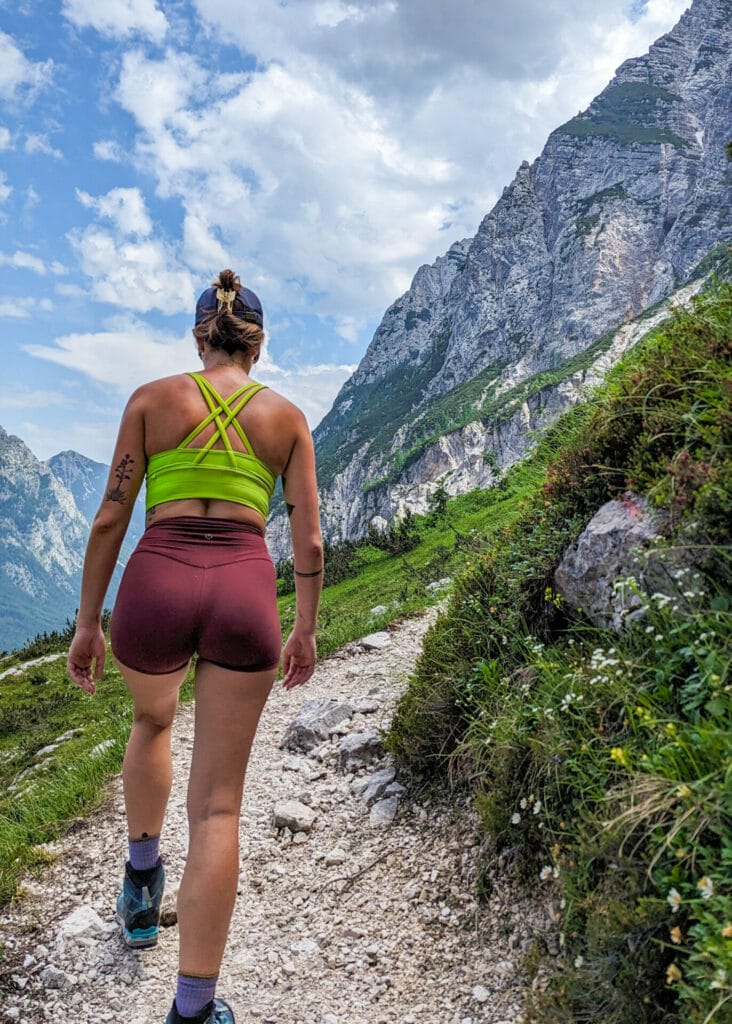
Hiking shirt/tank: Like a Cloud Longline
For the hot approach to Mt Triglav, pack a lightweight shirt or tank—these Lululemon crops are comfortable, sweat-friendly, and vibrant! Men, you’re on your own here…
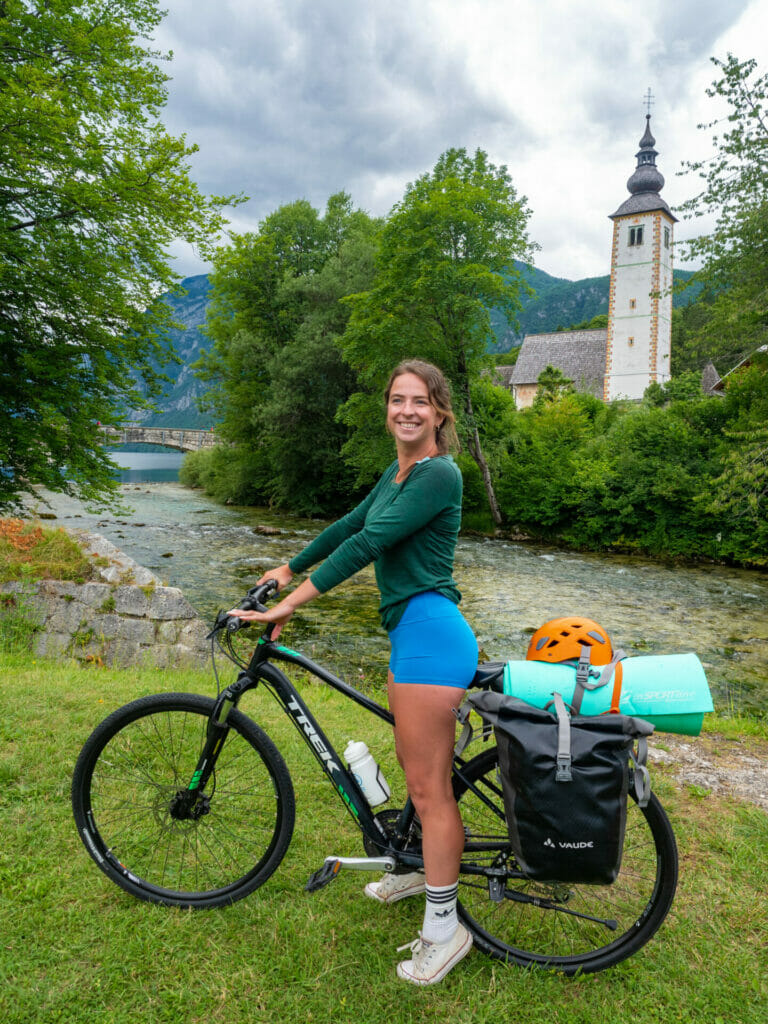
wool base layer: WoolX Remi Long Sleeve women’s or men’s
A long sleeve wool shirt is great for layering on the summit or keeping cozy at the hut, and merino wool offers an amazing warmth to weight ratio.

down jacket: Arc’teryx Cerium Hoody women’s or men’s*
For the summit and evenings at the hut, a down jacket is the best way to stay warm. Even in late June, it got extremely cold when I climbed Triglav, so I was glad to have this super cozy layer to wear under my shell!

rain jacket: Arc’teryx Beta LT Jacket women’s or men’s*
A Goretex shell is absolutely essential!

hiking shorts: Lululemon Align High-Rise Short 4″
My favourite stretchy and super compact hiking shorts, perfect for the trail and for via ferrata! Again, men are on their own here for recommendations…
+ 1-2x underwear for the trip
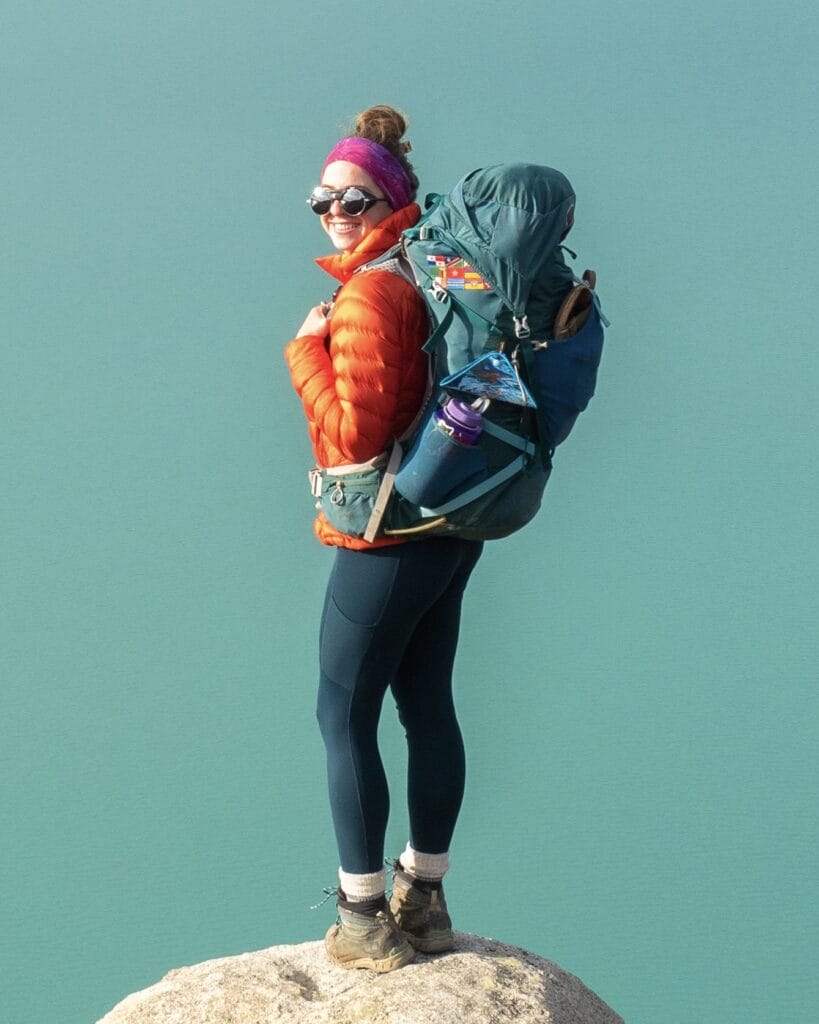
tights/joggers: Arc’teryx Essent Warm High-Rise Tights women’s or Arc’teryx Proton Pant men’s*
For sleep, general lounging around the hut in the evenings, or summit weather that turns unseasonably cold, a lightweight pair of hiking tights are great to throw in your pack!

liner socks: Injinji Liner Crew Socks*
I swear by these toe socks as the ultimate blister prevention, worn under my wool socks as a sweat-wicking liner!

wool socks: Darn Tough Hiker Micro Crew Cushion Socks women’s or men’s*
Plan to pack 1 pair of wool socks for hiking, plus another pair that you’ll keep clean for wearing in the hut. These are my personal favourite hiking socks— comfortable and super durable without being overly bulky.

hiking boots: La Sportiva Trango Tech GTX women’s or men’s
There’s no one “right” shoe for everyone, but I love the stiff soles of my boots for via ferrata and rough terrain/scree; the trade-off is that they are heavier and not quite as comfortable for long kilometres on a flat trail, but I was very happy with these on the mountain!
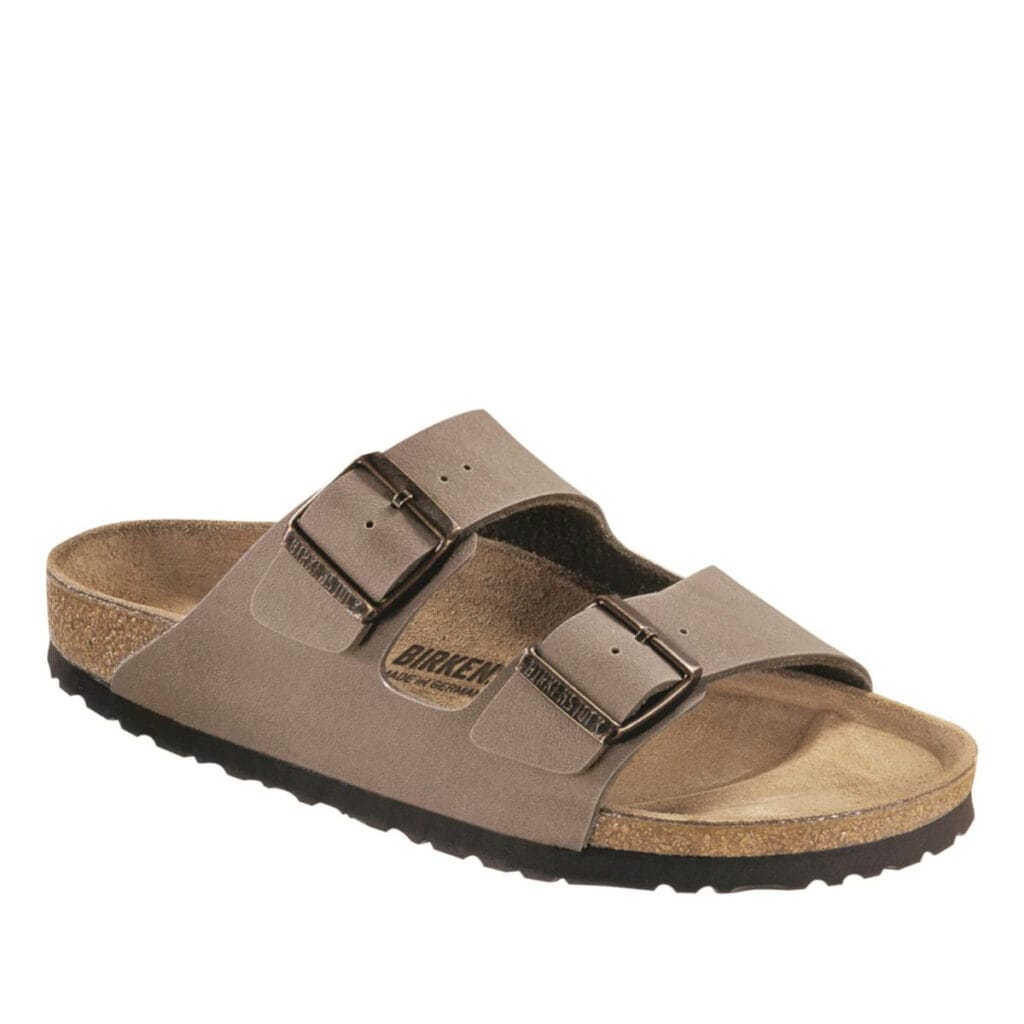
hut shoes: Birkenstock Arizona
All huts require that you leave your hiking shoes in the boot room upon arrival, so you’ll need to bring hut shoes to wear while inside; I’d recommend a lightweight slip-on sandal or shoe and I personally love Birkenstocks, since you can wear them comfortably over socks for a super stylish look.

sun glasses: Julbo Vermont
From glacier to via ferrata, these are my favourite outdoor sunglasses.
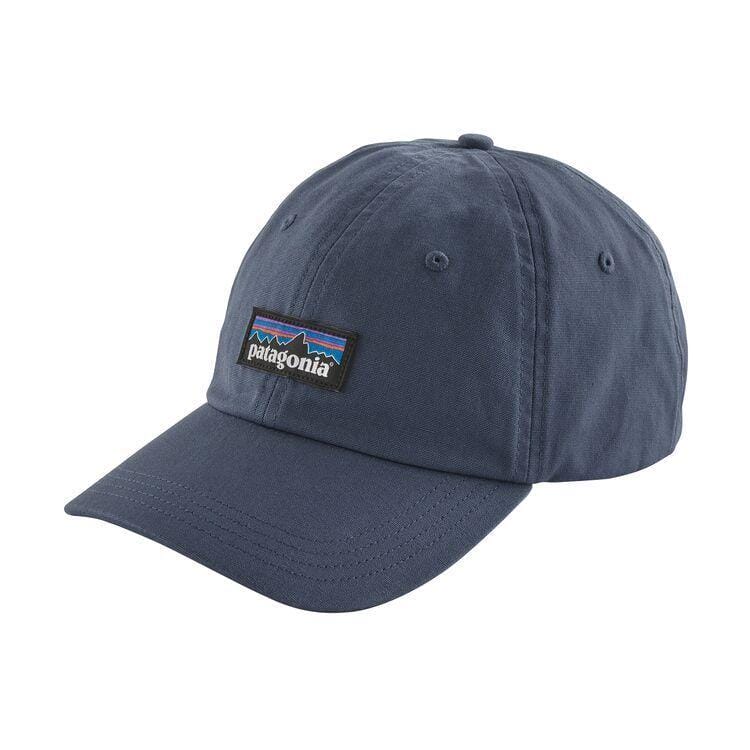
sun hat: Patagonia P-6 Label Trad Cap
Keep your head and face protected from the sun while on the trail!

beanie: Arc’teryx Mallow Toque
For chilly evenings at the hut, a warm beanie is a great addition.
Personal items
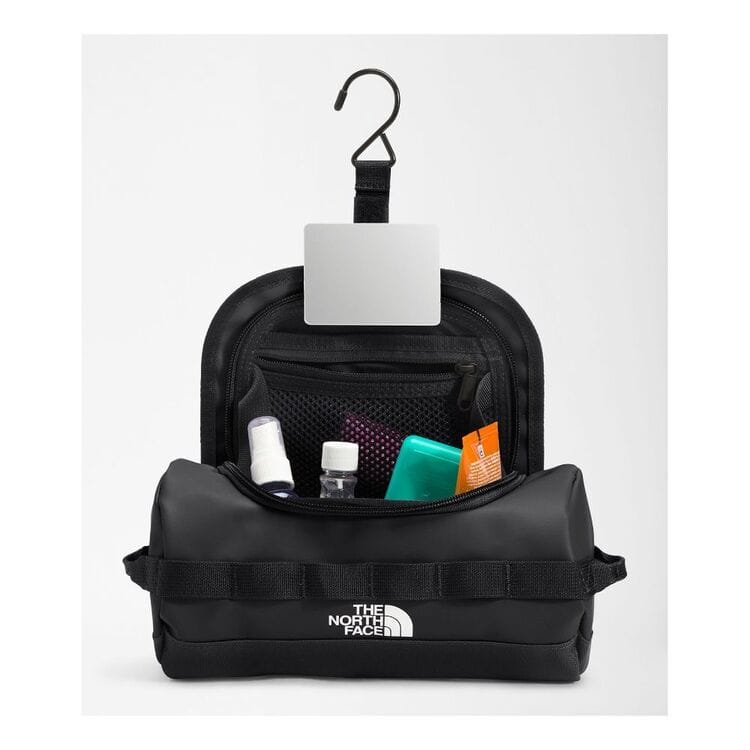
toiletries: The North Face Base Camp Travel Canister
Toothbrush, toothpaste, soap (for those quick hut showers), personal medication…

first aid kit: Adventure Medical Kits Mountain Series
A well-stocked first aid kit is absolutely essential on any hike; Adventure Medical Kits has conveniently assembled a range of bandages and common emergency medications into a compact kit that I use on all my adventures. I personally add KT tape (my go-to blister protection), Naproxen for joint swelling, and a pair of spare contacts; make your own personal additions!

sleep sack: Sea to Summit Silk-Cotton Blend Sleeping Bag Liner
Mountain huts provide mattresses, blankets, and pillows for sleeping (leave your sleeping bag & pad at home!), but since the beds don’t have sheets, you are required to bring your own sleep sack.

headlamp: Black Diamond Spot 400-R Headlamp
For late-night bathroom access after they turn the hut lights off (and hopefully not because you’re caught outside in the dark).

charger: Type-C USB charger
Slovenia uses Type C two-prong adapters (common throughout central Europe), and this USB/USB-C combo is the most convenient way to keep all your electronics charged in the hut.

powerbank: VRURC Portable Charger with Built-in Cables, 10000mAh
Although it’s possible to charge electronic devices at both hut along the route, hikers are always competing for limited power points, so instead of jostling to plug everything in at once, I’d recommend bringing a powerbank too.
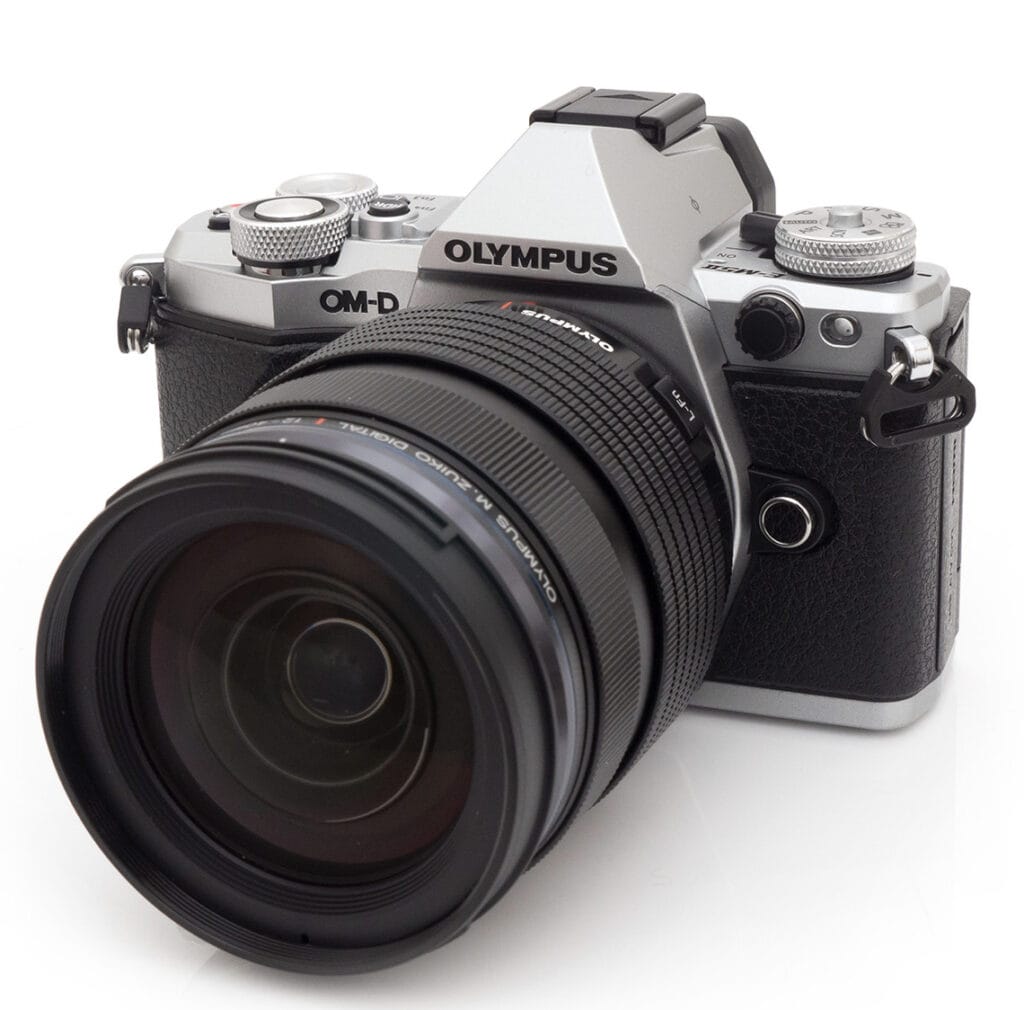
camera: Olympus OMD EM5 M2 + 12-40mm f2.8 lens
All of the photos on my blog were captured with my mirrorless Olympus EM5, a fantastic hiking/adventure camera that is weather-proof and impossibly durable.
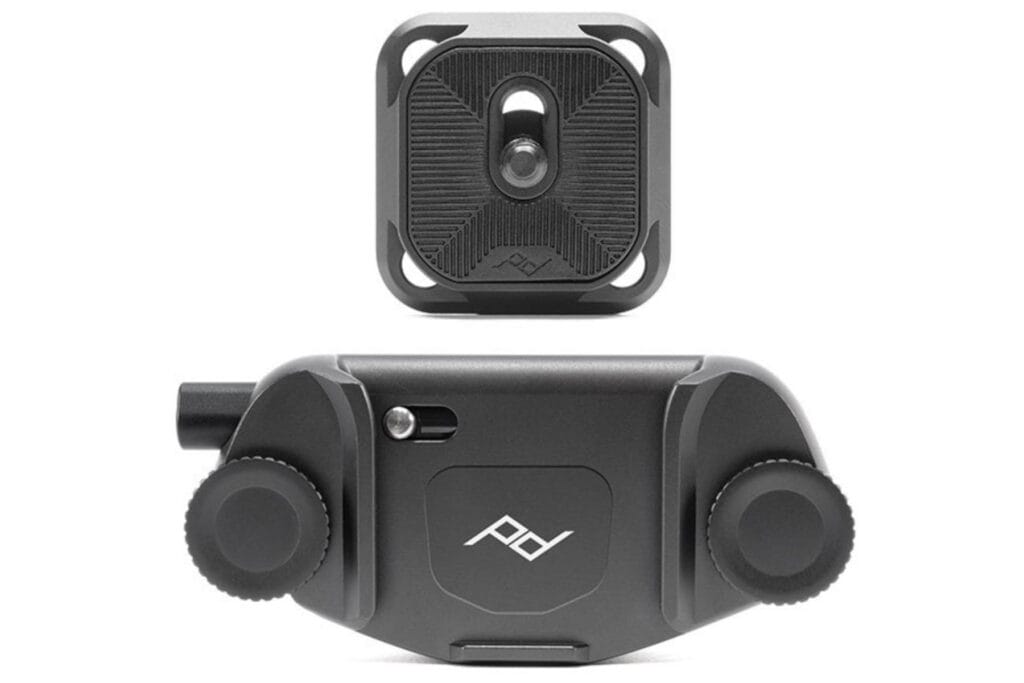
camera clip: Peak Design Capture Clip V3
For photographers, this clip is an absolute game-changer, attaching your camera conveniently to the shoulder strap of your backpack for quick access. I’ve climbed countless mountains and via ferrata with my camera clipped to my shoulder, and I can’t recommend this system enough.

PLB: Garmin In-Reach Mini
Never hit ANY trail without a satellite communicator— whether you’re sending check-in messages back home, receiving weather updates, or communicating with emergency services, this small device can literally save your life.

GPS: CalTopo iPhone app
I personally use CalTopo to map all of my adventures and navigate turn-by-turn on the trail; download before you leave home!

passport, credit card, cash
Both huts required cash payments as of 2022, so plan to bring enough Euro to cover your bed and your food.

snack food
Breakfast and dinner are readily available from mountain huts listed here, but I’d recommend bringing a selection of snack food for lunch and nibbles throughout the day.
Read about more adventures in the Alps
Juliana Bike Trail: a complete guide to Slovenia’s best cycling tour
Climbing Mt Triglav: Čez Prag, Tominšek & Mali Triglav via ferrata in Slovenia’s Julian Alps
Solo climbing Mont Blanc via the Goûter Route
Introduction to via ferrata + complete via ferrata gear list
The ultimate guide to solo hiking & camping the Tour du Mont Blanc

The Comments
claire
brooke, i’m planning my trip to triglav from america and i could not have asked for a more helpful post!! i am so grateful for what you’ve shared and that i was able to stumble upon it, this is such a thorough and clear guide that answered a lot of questions i had! thank you so much and i hope you’re well 🙂
brooke brisbine
claireHi Claire, SO glad you found this post helpful!
Have the best time 🙂
xx bb
Harvesh
strong women who break boundaries, embrace the unknown, and paint the world with their wanderlust! May your journeys be filled with wonder, connection, and the transformative power of stepping outside your comfort zone.
brooke brisbine
HarveshThank you for reading AND this beautiful comment!!
Wishing you so many magical adventures this year & beyond,
xx bb