
Everything you need to know about sailing on the Spirit of Tasmania
Last Updated on 9 July 2026
Whether you’re a tourist Down Under for the first time or a local looking for your next weekend trip, Australia’s island state is a true outdoor paradise, delightfully under the radar and full of hidden gems. Flight specials routinely pop up from Sydney and Melbourne, but the absolute best way to explore the natural beauty of Tasmania is by car, so opt instead to catch the vehicle ferry across the Bass Straight. This quick guide will cover everything you need to know about sailing on the Spirit of Tasmania, including ticket and accomodation options, ammenities and activities on-board, and my specific recommendations for getting the most out of your journey.
Quick facts about the Spirit of Tasmania
- The Spirit of Tasmania is the only ferry operating between mainland Australia and Tasmania
- Standard fare is $69, not including any accomodation or vehicle
- The journey from Port Melbourne to Devonport takes anywhere from 9-11 hours
- You are not permitted to be in your car (or even grab something quickly from your car) while the ferry is sailing
- There is food and drink onboard the ferry for purchase
Reserving a spot on the Spirit of Tasmania
You can reserve your tickets for the Spirit of Tasmania online as far as 11 months in advance, and although that’s certainly much earlier than most of us make our travel plans, I would definitely recommend booking at least a few months ahead, particularly during summer or school holidays. By waiting to book our Jan/Feb sailings until September, we ended up with our third choice of dates and some unexpectedly pricey fees!
When you make your booking online, you will need to provide several pieces of information, including the name and DOB of all passengers, make and model of your car, and rego number. If you’re planning to drive a hire car across on the ferry, you can select “other” for make and model, and leave the rego blank (but definitely check with the hire car company that you are allowed to take the car off the mainland!). In addition to these details, you also have to select a sailing time and an accomodation option for your journey, and it was struggling with these many choices ourselves that led me to write this post!
Sailing times
- Day sailing: Only operated during summer and busy holiday periods, day sailings depart at 9/9.30am and arrive in at 6.30/7pm that same day. It’s an entire day lost to travel, but there are more food options and activities offered during the day, as well as pretty ocean views.
- Night sailing: Operated year-round, night sailings depart at 9/9.30pm and arrive in at 6.30/7am the next day. This option is definitely a more efficient use of your valuable holiday time!
*My recommendations: sailing times
- Choose a night sailing. It’s totally possible to have a good night’s sleep onboard the ferry, and then you can arrive in Devonport first thing in the morning and zip off to whatever Tasmanian adventure awaits! Chances are, you’ll end up spending a night in Devonport if you take the day ferry, since the town is not terribly close to anything and you won’t be off the ferry until 10/10.30pm. This not only wastes a full day travelling, but also means paying for a night’s accomodation near the ferry (the cheapest option we found was $80/night).
-

- Nothing but ocean on our day sailing
Accommodation options
- Day ticket: Available on day sailings only, this is essentially a “no accommodation” option that adds nothing to the cost of your ticket. There are heaps of comfy seats and tables located around the ship for you to hang out in, but staff will come around and wake you up if they see you sleeping in a public area.
- Recliner: For an added $39, you will be assigned a specific recliner in one of the lounges. This is probably best compared to a business class or first class plane seat, as they are fairly wide and comfortable, and do lean back quite a ways. The recliner lounge has swipe card access, so it’s also safe to leave your belongings in your seat while you visit the cafe or cinema, which is convenient. There are also several nearby toilets just for the recliner lounge passengers.
- Shared cabins: These are similar to hostel dorm-style accommodation, in that you will share either a 2-bed cabin ($70/person) or 4-bunk cabin ($30/person) with some strangers of the same sex. There is a private bathroom and shower for all the passengers in your cabin, but the rooms are very small. Bedding and towels are provided, and there are also powerpoints for charging and lights for reading near each bed. This is definitely a good option if you are a solo traveller, as it’s heaps cheaper than paying for a private cabin just to get one bed.
- Private cabins: The most expensive option is to reserve a private cabin with beds and a toilet/shower. For a group of 4, you can pay $139/$189 (inside/outside) for a cabin with 4 bunkbeds, or a group of 2 can reserve a twin cabin for $189 or a deluxe cabin with a double bed for $499 (both outside). See these different configurations in the photos below.
*My recommendations: accommodation
- Pay extra for a private cabin. We splurged on a cabin for our second sailing and seriously wished we had done so for both directions, even though our outbound trip was during the day. It’s expensive, but you are onboard the ferry for nearly 12hrs (the sailing takes 9-11hrs, but the slow boarding and un-boarding process means extra time on the ship), so it makes an enormous difference to actually have a bed and a private bathroom. This is also essential if you are trying to hit the ground running in Tasmania, as you’ll want to be well-rested for whatever adventures you have planned.
- If you have to sail in the day, make sure you book a recliner. Although it might seem like a good idea to save money by getting a day ticket, we heard from friends that we should under no circumstances make this mistake. Even though there is plenty of free and comfy seating on board, you are not allowed to nap or even lay down in any public area, and 12 hours is a long time to just sit there. The recliners are a good compromise if you want to have a semi-private area and get some sleep, but still save money over a cabin.
- Choose an inside cabin if you can. I can’t see that there is any great benefit to booking an outside cabin, as we literally couldn’t see anything out the windows (it was nighttime and also we were asleep..), so if the option is available to you, consider choosing an inside cabin to save a little bit of money.
-

- Recliner lounge

-

- 4-bunk cabin

-
- Deluxe cabin

-
- Private bathroom

-
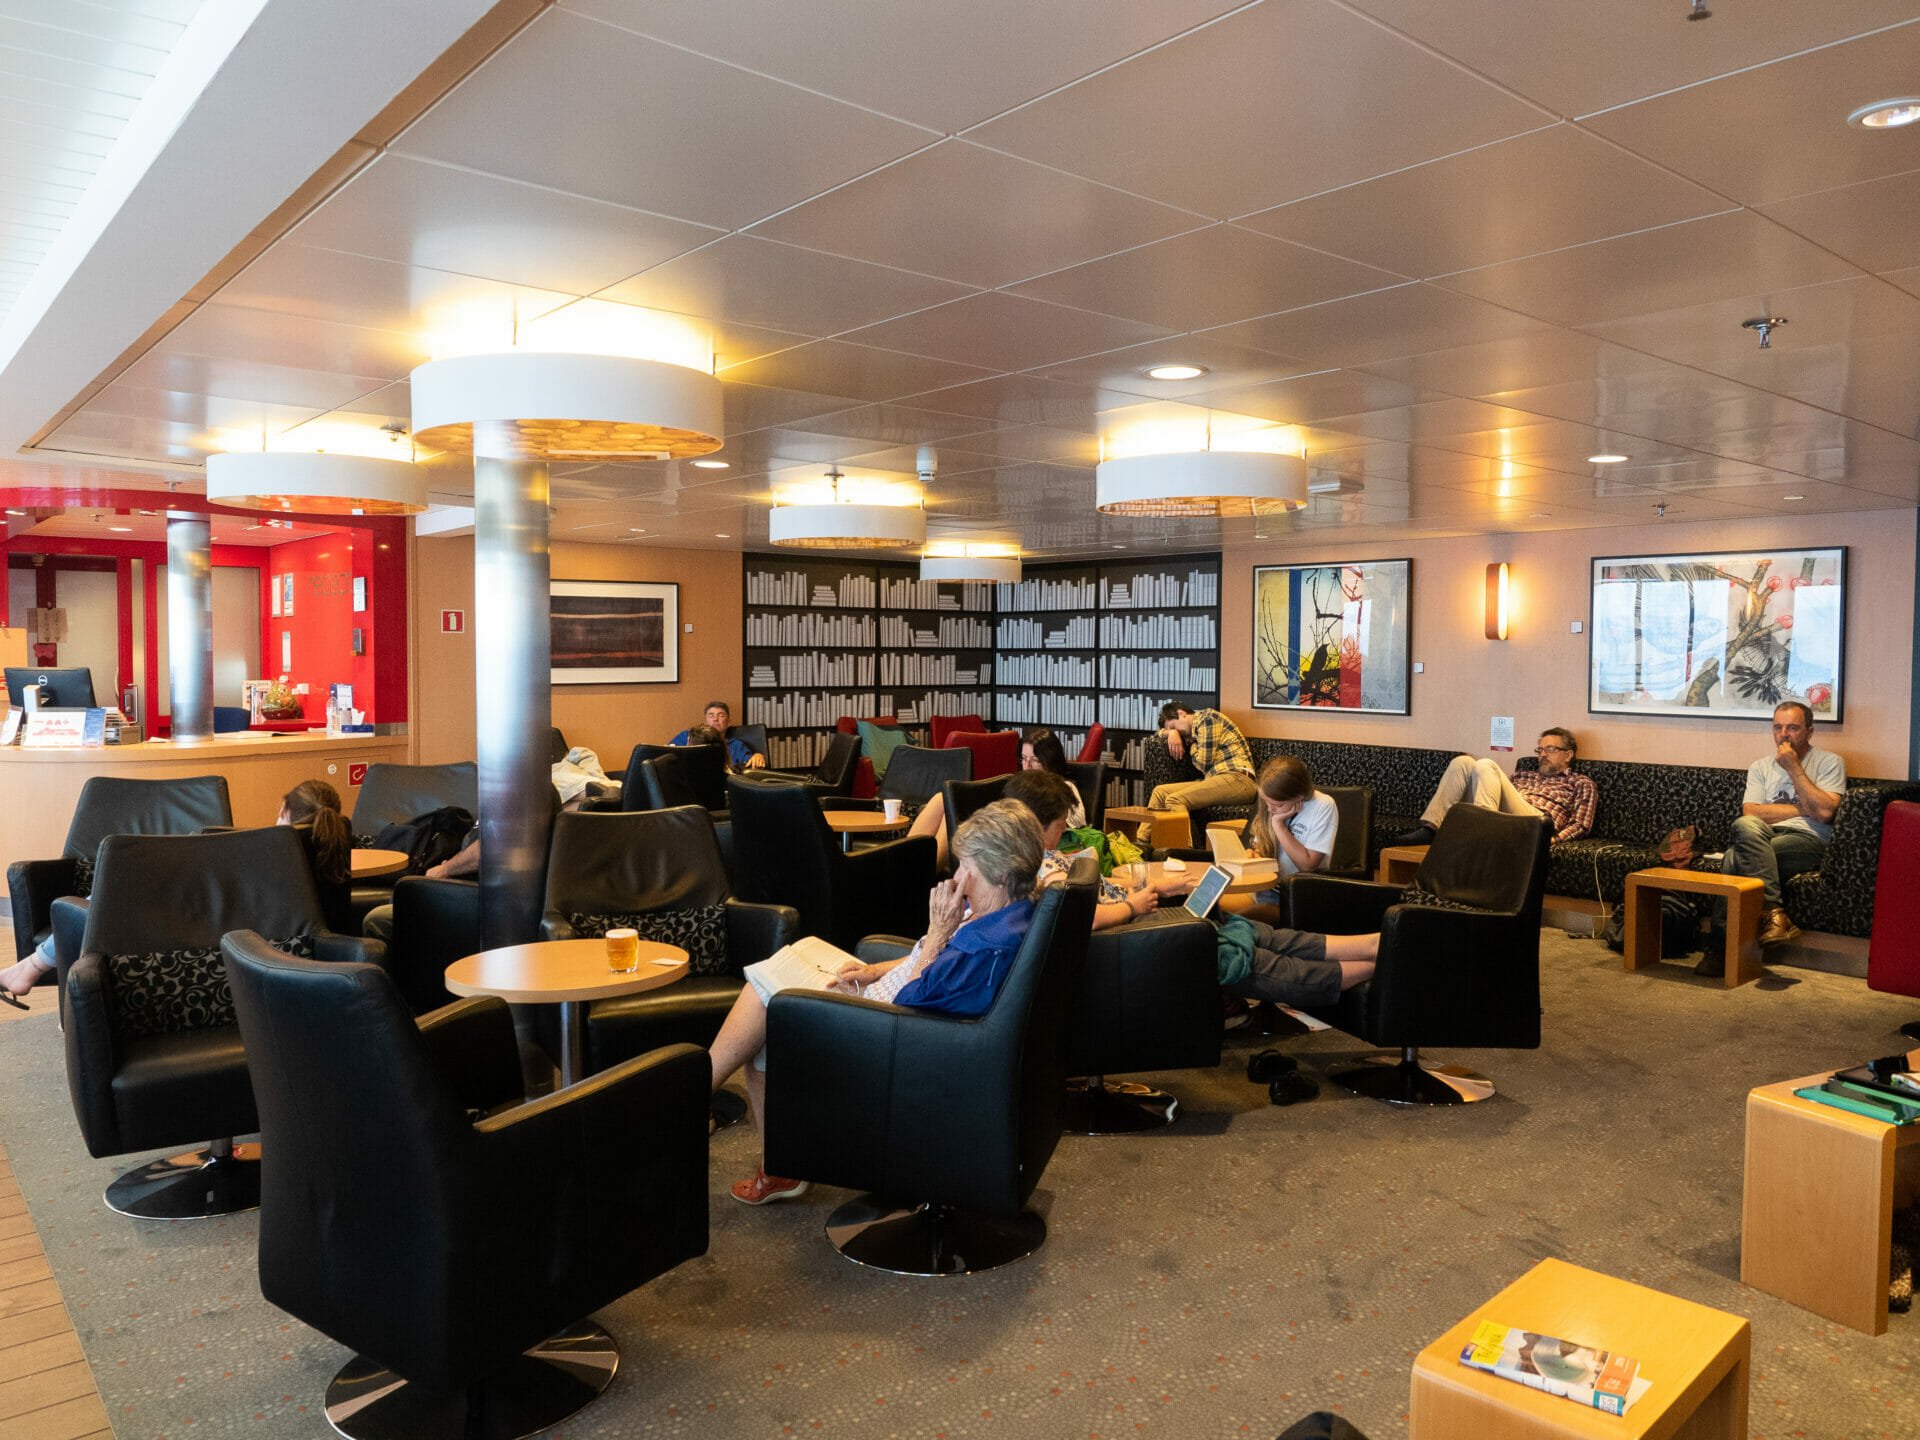
- Common area seating
Photos 2-4 courtesy of Spirit of Tasmania
Checking in for your sailing
On the day of your sailing, there is a fairly simple check-in process for the ferry. Arrive at the pier in Port Melbourne or East Devonport 2.5hrs-45min before the scheduled sailing time to receive your boarding passes (these double as swipe cards for the recliner lounge or cabins, if you’ve reserved accommodation) and join the boarding queue. The easiest way for staff to locate your booking is to print and bring the actual Spirit of Tasmania PDF with all of your details, but it’s also possible for them to look you up in the system using your ID.
There will probably be a lot of sitting and waiting in your car before you finally drive onto the boat, but then it’s quite quick to grab your “carry on” bag, take note of where you parked (there are little maps you can take from the nearest stairwell that will give you directions back to this exact spot later), and make your way to your chair/cabin for sailing. It’s not possible to access anything in your car after the boat sets off, so make sure you pack everything you need!
Key items to bring with you from the car
- Sea sickness tablets: the Bass Straight is notoriously rough sailing, but even on “calm days”, it’s very likely that you are going to feel nauseous from all the rocking around
- Books and/or iPad: entertain yourself for the next 9-11 hours
- Charger for your devices: there are powerpoints available for use throughout the boat, as well as in the private cabins
- Blanket/pillow (if you are on a recliner): these are provided in the cabins or on the recliners during night sailings, so pack your own to snooze during the day
- Shower stuff (if you are in a cabin): towels and soap are provided, but pack your own shampoo/conditioner and a clean change of clothes if you want to have a shower onboard the ferry

Photo courtesy of the Spirit of Tasmania
What to expect onboard the Spirit of Tasmania
Food & drinks
There are a number of food and drink options on the Spirit of Tasmania, from breakfast and dinner in the Tasmanian Market Kitchen to drinks and snacks in various bars. As can be expected, everything is fairly expensive, but at least it is of decent quality. The hours of operation, however, leave much to be desired, so take note of the schedule for your particular sailing to avoid missing a meal and being stuck with very limited options (click on links below for the menu and pricing):
- Day sailings: brekky from 7.30-10am and lunch from 12-3pm
- Night sailings (on a double sailing day): dinner from 7.30pm-10pm and brekky from 5am-arrival
- Night sailings (single sailing day): dinner from 6.30pm-9pm and brekky from 5.30am-arrival
Outside of these hours, there’s a little convenience shop-style Pantry selling limited snacks and two bars that serve pretty average frozen pizza (the Terrace Lounge Bar and the Top Deck Lounge).
*My recommendations: food & drinks
- Pack your own food and drinks to save money. There is absolutely nothing to stop you from bringing anything you want onto the ship, which includes elaborate meals and even bottles of wine/beer, and although you might not be permitted to drink these in the common areas, you can definitely indulge in the comfort of your own room. It’s certainly nice knowing that food is there for purchase if you need it, but it really isn’t anything special, so save a bit of money and bring something tasty from home (or stop at a shop nearby the ferry terminal before boarding).
-
- One of the Spirit’s 3 bars

Activities
Beyond just hanging out at the bar (or the many kids’ activities), the cinemas are really the only exciting onboard entertainment to speak of. There are two separate cinema rooms that each show a rotation of 3 films (amazingly, new releases!), and there are about 60 seats in each. It’s certainly no IMAX experience, but it’s far better than watching a movie on your laptop (or even on your home tv), so it’s definitely a fun way to occupy a few hours on the boat. Tickets are $10/adult and $5/child. Check showtimes here.
*My recommendations: activities
- Buy your cinema tickets the second you step on board. Within an hour of leaving Port Melbourne on our first sailing, tickets to every single movie sold out; thankfully, we had purchased our tickets to Bohemian Rhapsody before even finding our seats. The cinema was actually a major highlight (and only highlight) of our day sailing experience, so I’d highly recommend it!
-
- 2 cinemas onboard the Spirit

-
- On board the Spirit

Read more about our time in beautiful Tasmania
THE OVERLAND TRACK: A COMPREHENSIVE DIY GUIDE TO TASMANIA’S MOST ICONIC MULTI-DAY HIKE
SUMMITING MT AMOS FOR THE ABSOLUTE BEST VIEW OF WINEGLASS BAY
TOP 5 MOST BEAUTIFUL SPOTS TO EXPLORE IN TASMANIA’S BAY OF FIRES
WHAT TO DO ON BRUNY ISLAND: THE PERFECT DAY-TRIP ITINERARY
PIRATES BAY & EAGLEHAWK NECK: DRIVING THE TASMAN PENINSULA
The Comments
Toby
One small update: you can’t book to share a cabin with strangers for a reduced price any more. But if you book a cabin as a solo traveller you get the whole thing to yourself.
It’s a bit confusing because the more beds a cabin has the cheaper it is, but that’s how they do it.
brooke beyond
TobyThanks so much for the update, Toby!
Alan Jones
Nice camera, Brooke!
Thanks for the tips.
Su
Thank you
your info was very much appreciated
Safe travels xxx
brooke brisbine
SuSo glad this post was helpful, Su!
Happy travels 🙂
xx bb
Matthew Trueman
Great info thanks Brooke!
brooke brisbine
Matthew TruemanThanks for reading, Matthew!
Paul Wilson
We are thinking of coming to Tasmania the first week of December.
1. Do we need to book in advance?
2. If so, how far in advance?
3. We would like to travel over night, and would like the twin cabin accommodation please.
Kind Regards Paul Wilson & Glorine Faranda.
brooke brisbine
Paul WilsonHi Paul & Glorine,
I’d certainly recommend booking in advance, as December is a very popular time to travel to Tasmania. Now, of course that is dependent upon COVID border closures/ quarantine procedures lifting! Wishing you a pleasant trip 🙂
-Brooke